|
|
Post by Firemist on Jun 17, 2019 2:48:28 GMT
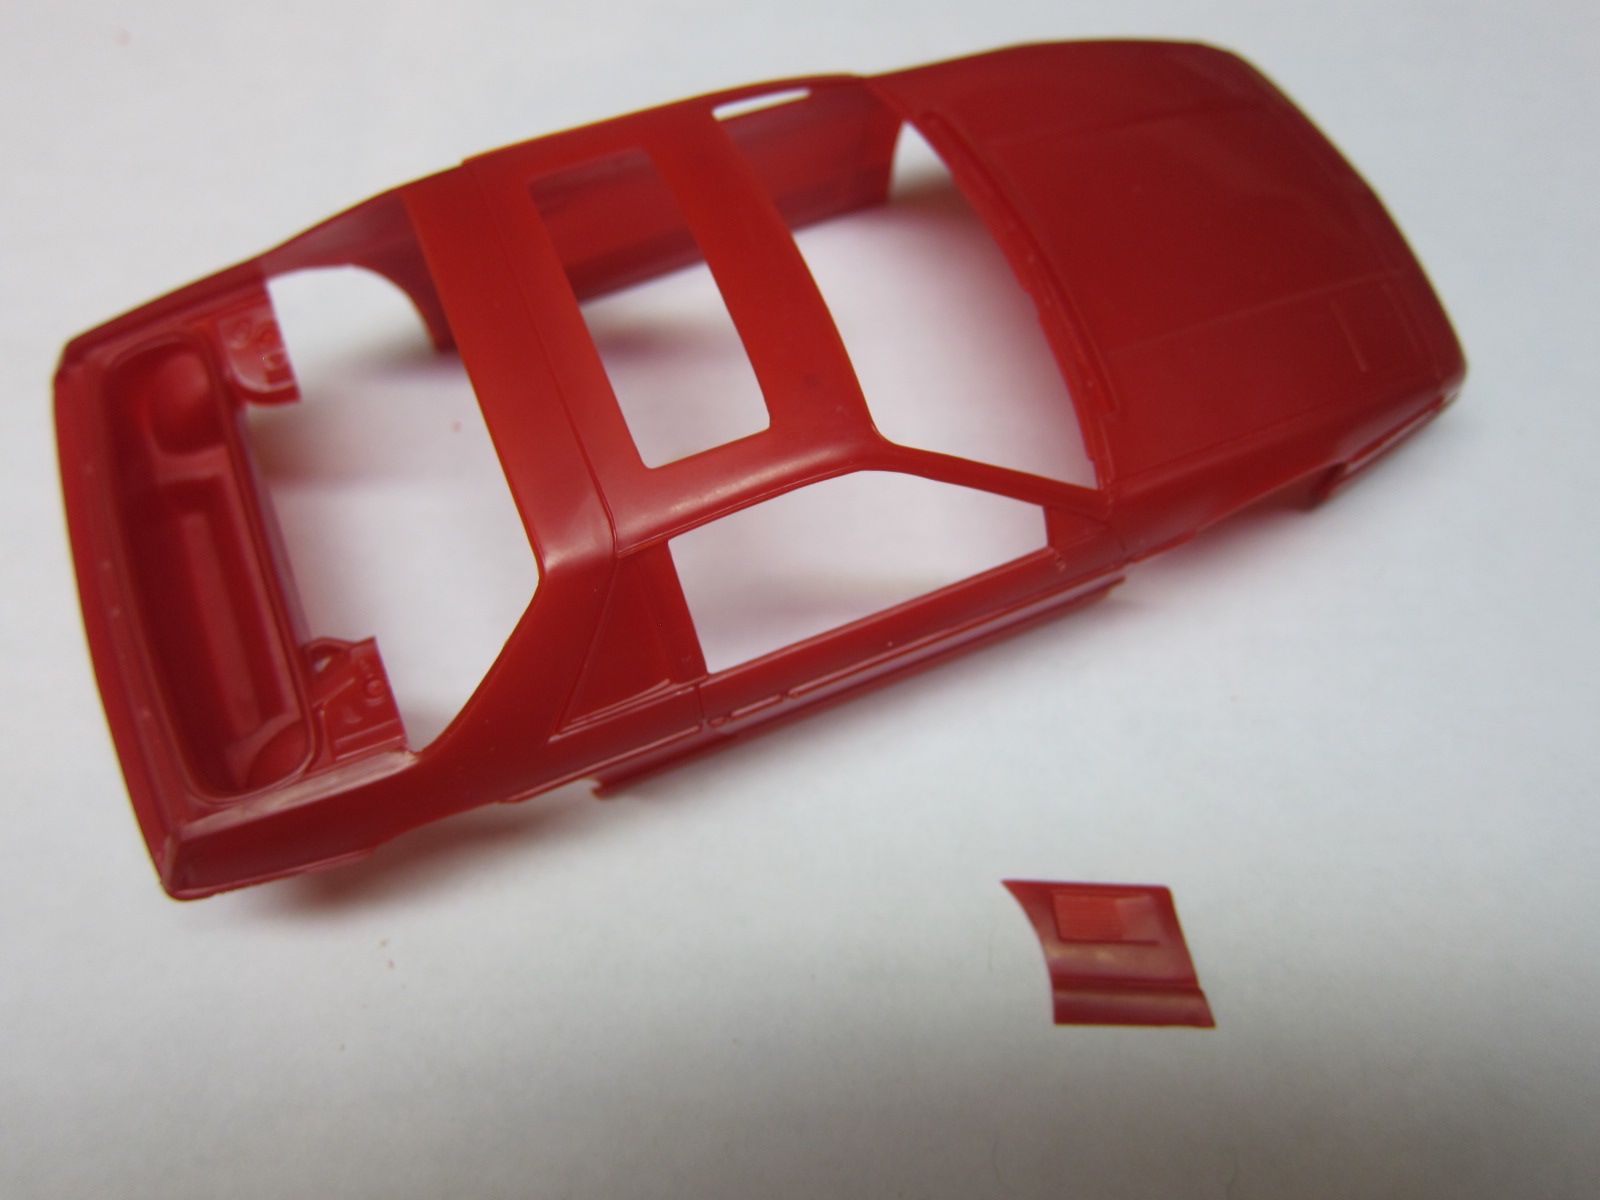
I paid close attention when I cut the wheel well panel off from the parts sprue. If you are not careful, you can easily cut too deeply and ruin the contour. The kit offers a choice of the stock or the performance wheel well panel which include the air intakes. I opted for the stock version.
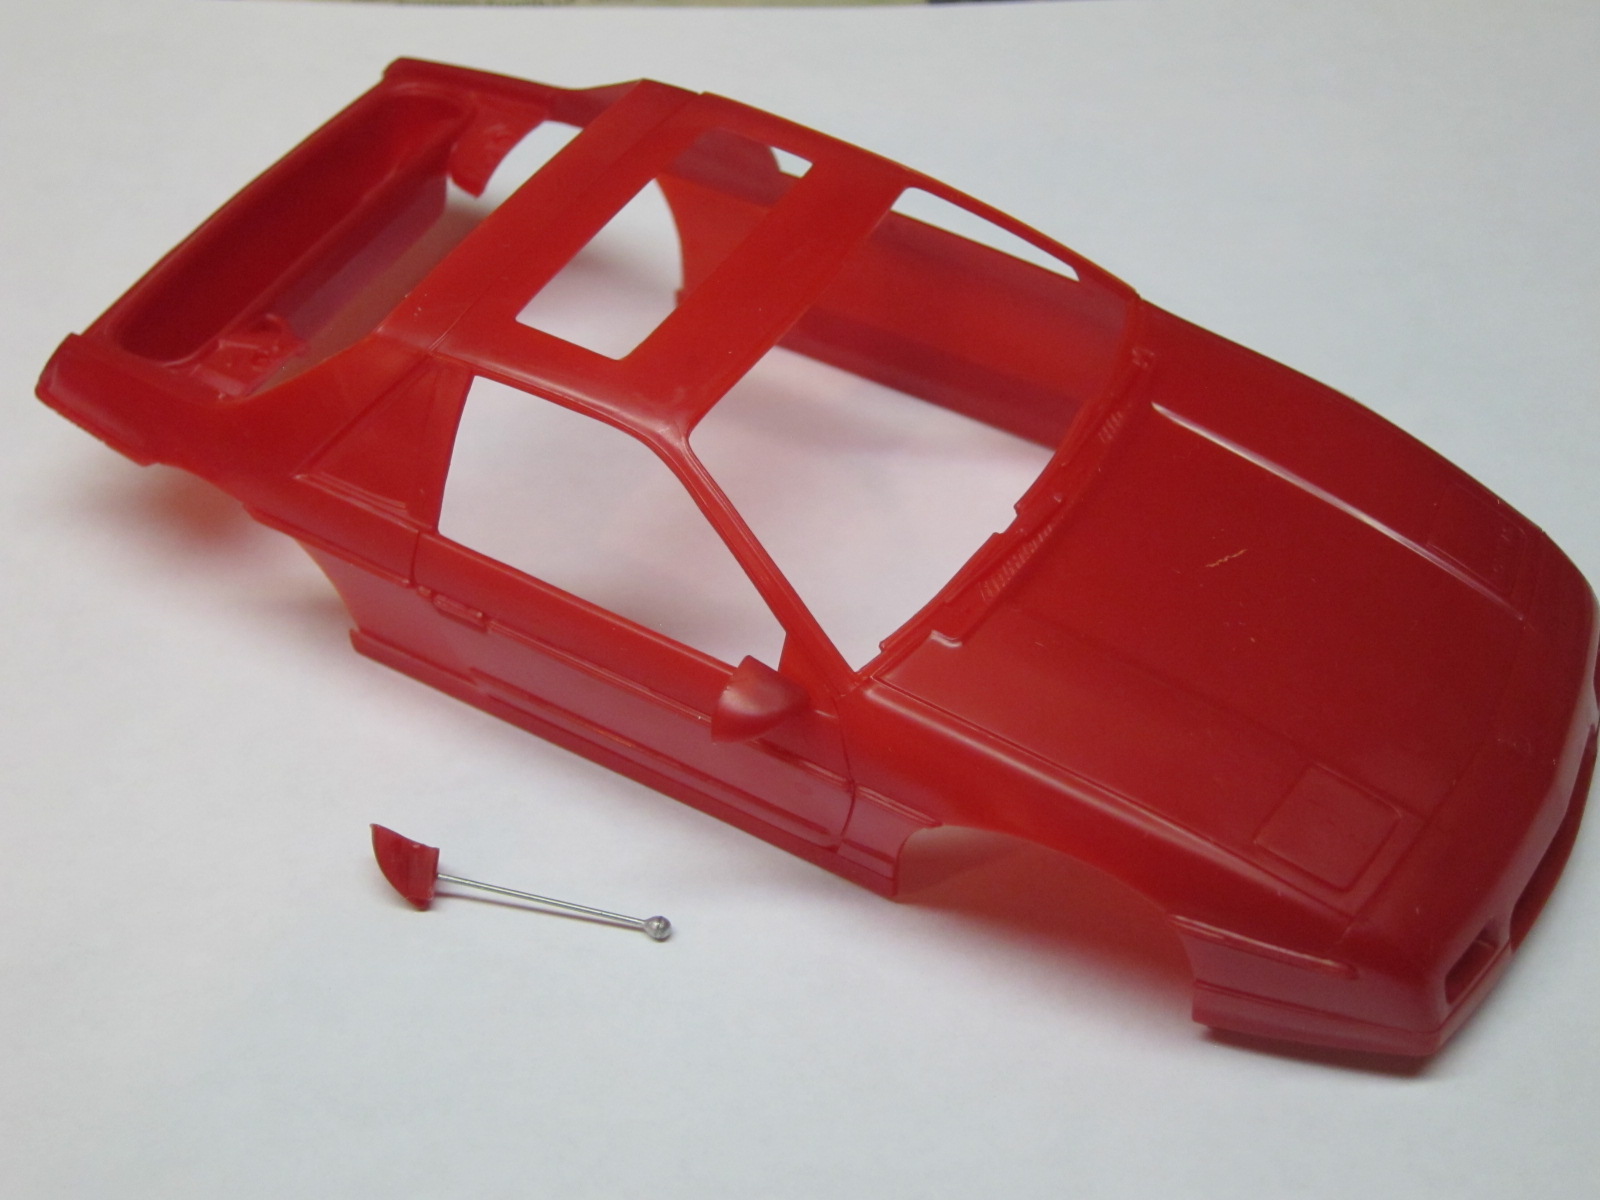
Since the mirrors did not have pins, I drilled into the post and glued a pin into it in order to make it easier to mount on the body. I also measure out where the mirrors would be placed and drilled holes in the body where the mirrors would mount. If you notice the kit's box art, the builder had some difficulty attaching the mirrors.
I primed the body with Alclad primer, and painted it with Tamiya Italian red. Also, I opted to paint the bottom trim with Tamiya Gloss Aluminum.
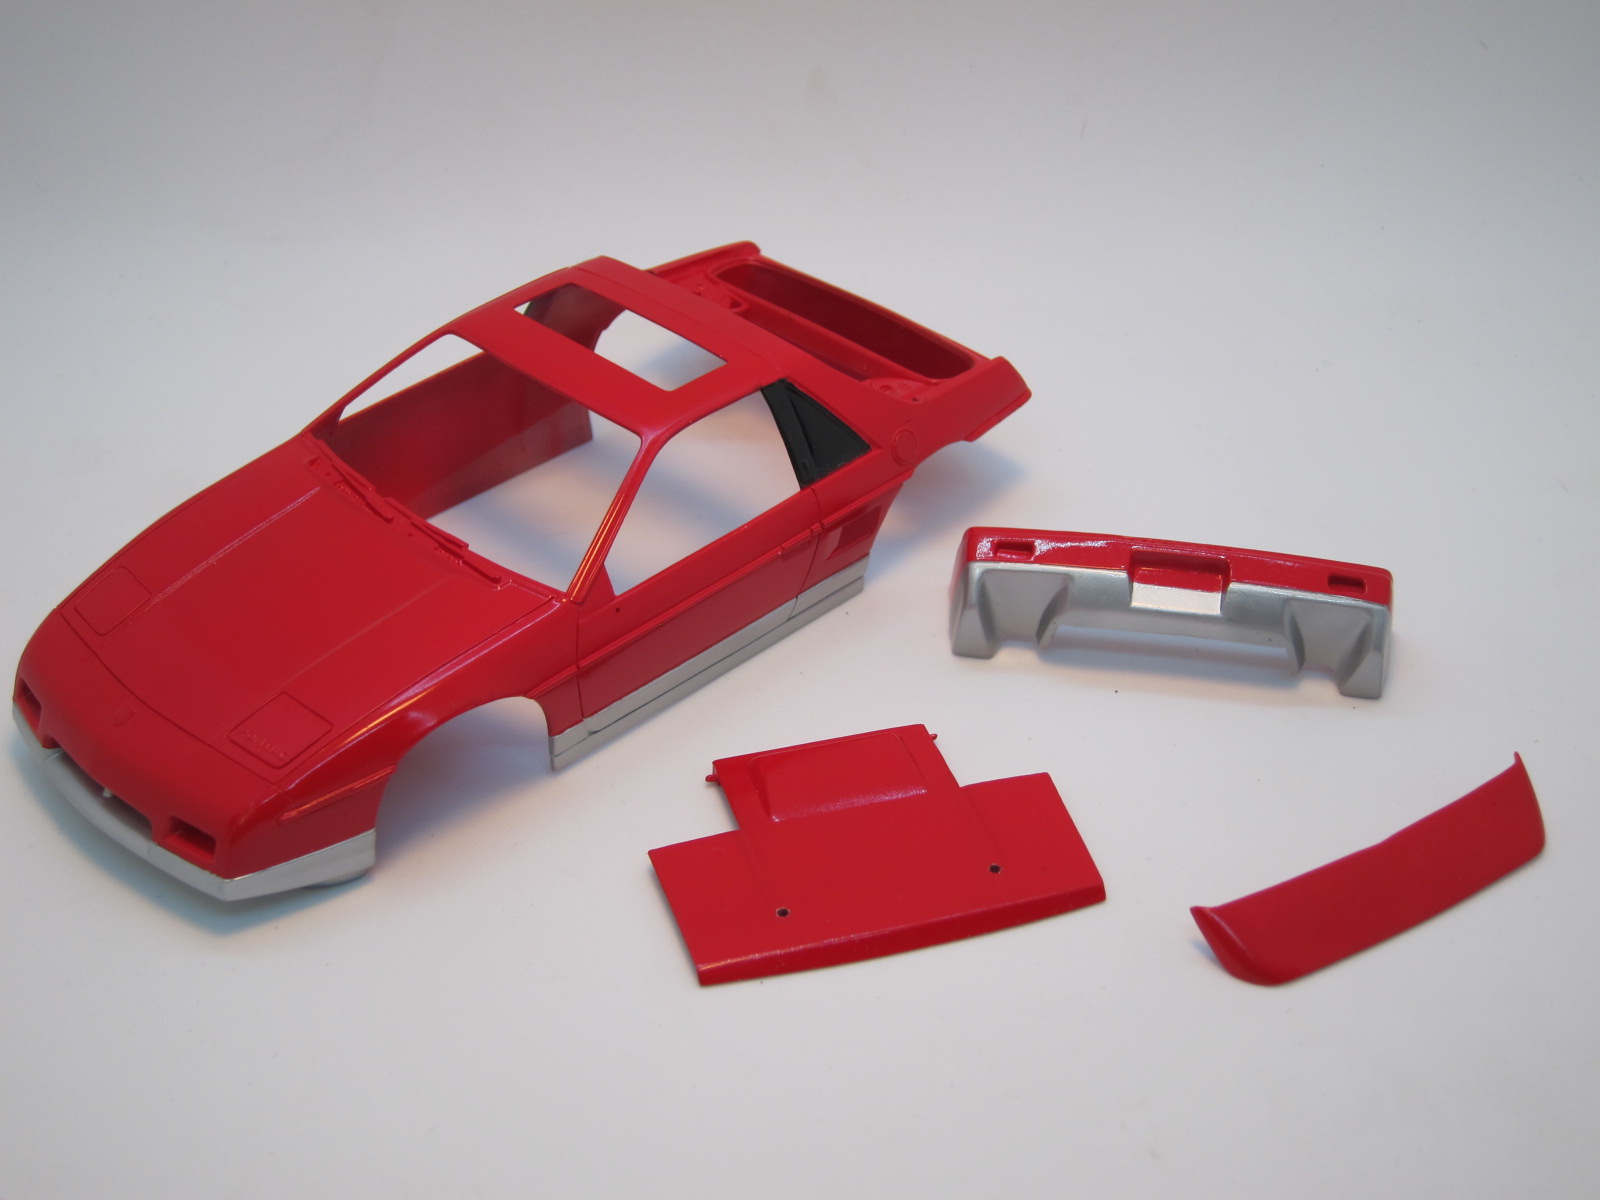
At this point the body is just about ready for a clear coat. After clearing the body, I am still going to have to paint the inside of the c-pillar semi-gloss black. In addition, I still have to do the door edge guards and the black trim around the windows. I was hoping to have this kit ready for this week's meeting, but it probably won't happen.
|
|
|
|
Post by chadacuda on Jun 19, 2019 2:52:21 GMT
Here's my Fiero, which I finished last December...
I see a lot more detail that you did on your Fiero,
the silver and red two-tone sets it off...
nice job Joe  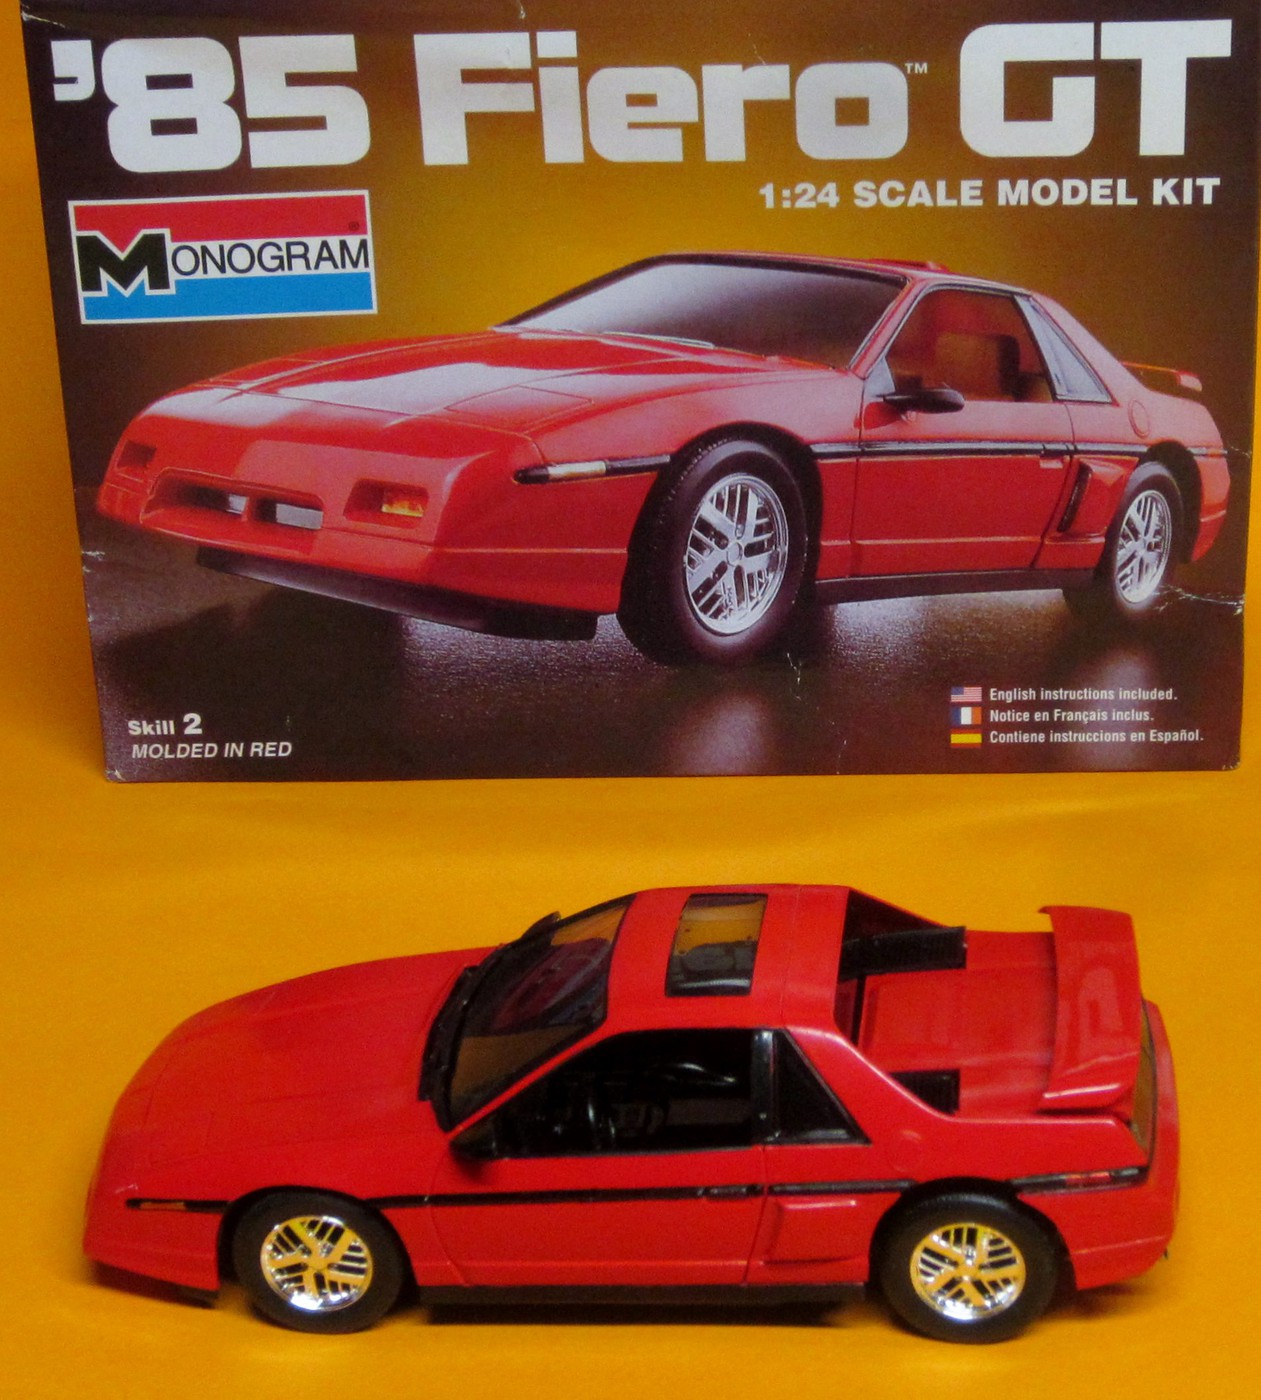 Hosted on Fotki Hosted on Fotki
|
|
petel
Full Member

Posts: 158
|
Post by petel on Jun 19, 2019 17:07:53 GMT
Guys,
Nice work on both of these builds... this seems to me one of those "sleepers" that slipped through my fingers for some reason but really looks to be a nice kit.
|
|
|
|
Post by Firemist on Jun 20, 2019 0:31:36 GMT
Thanks guys! This one is taking a while to finish, I am hoping I can get it done by the end of next week but I have some painting around the house the wife is pressing me to do!
As for the kit itself, there are a couple builds of the kit posted on the internet but unfortunately I don't think it was a hit for Monogram. You don't see too many models of cars from the 80's. I picked up a few including a Camaro, Dodge Daytona, Ford EXP, and Shelby Charger.
|
|
|
|
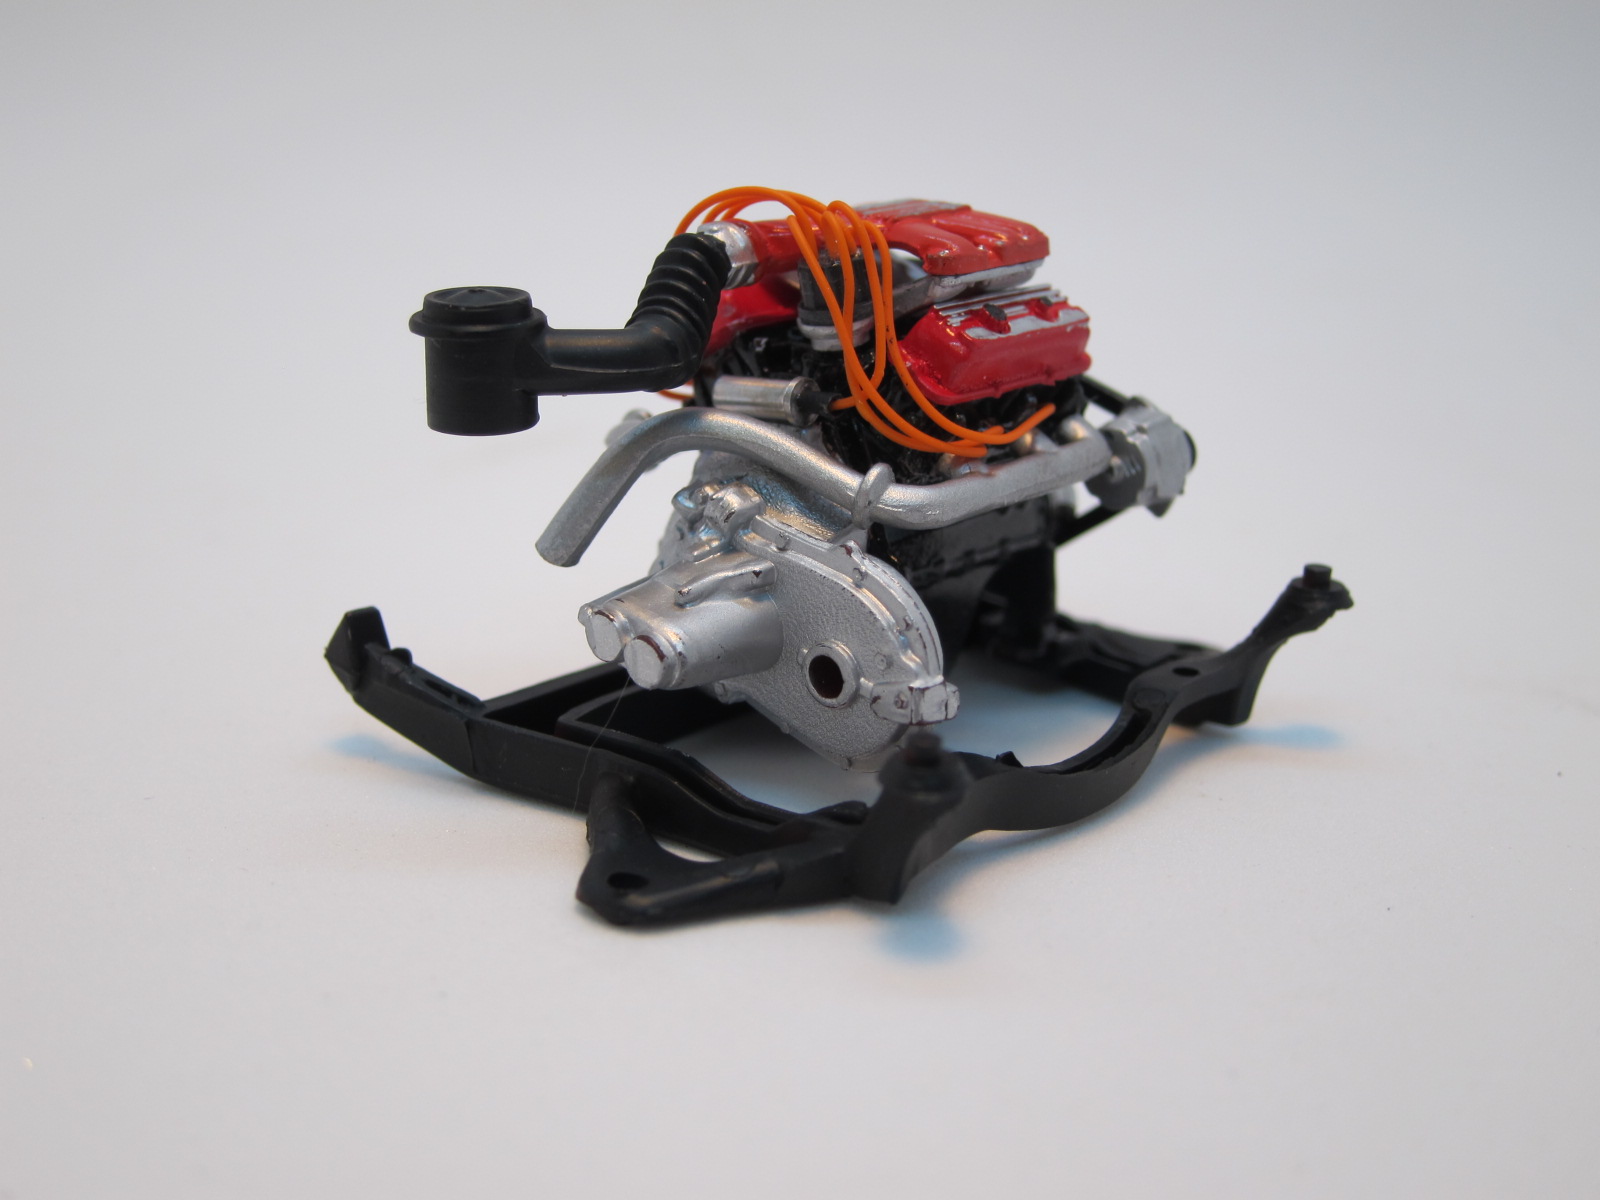
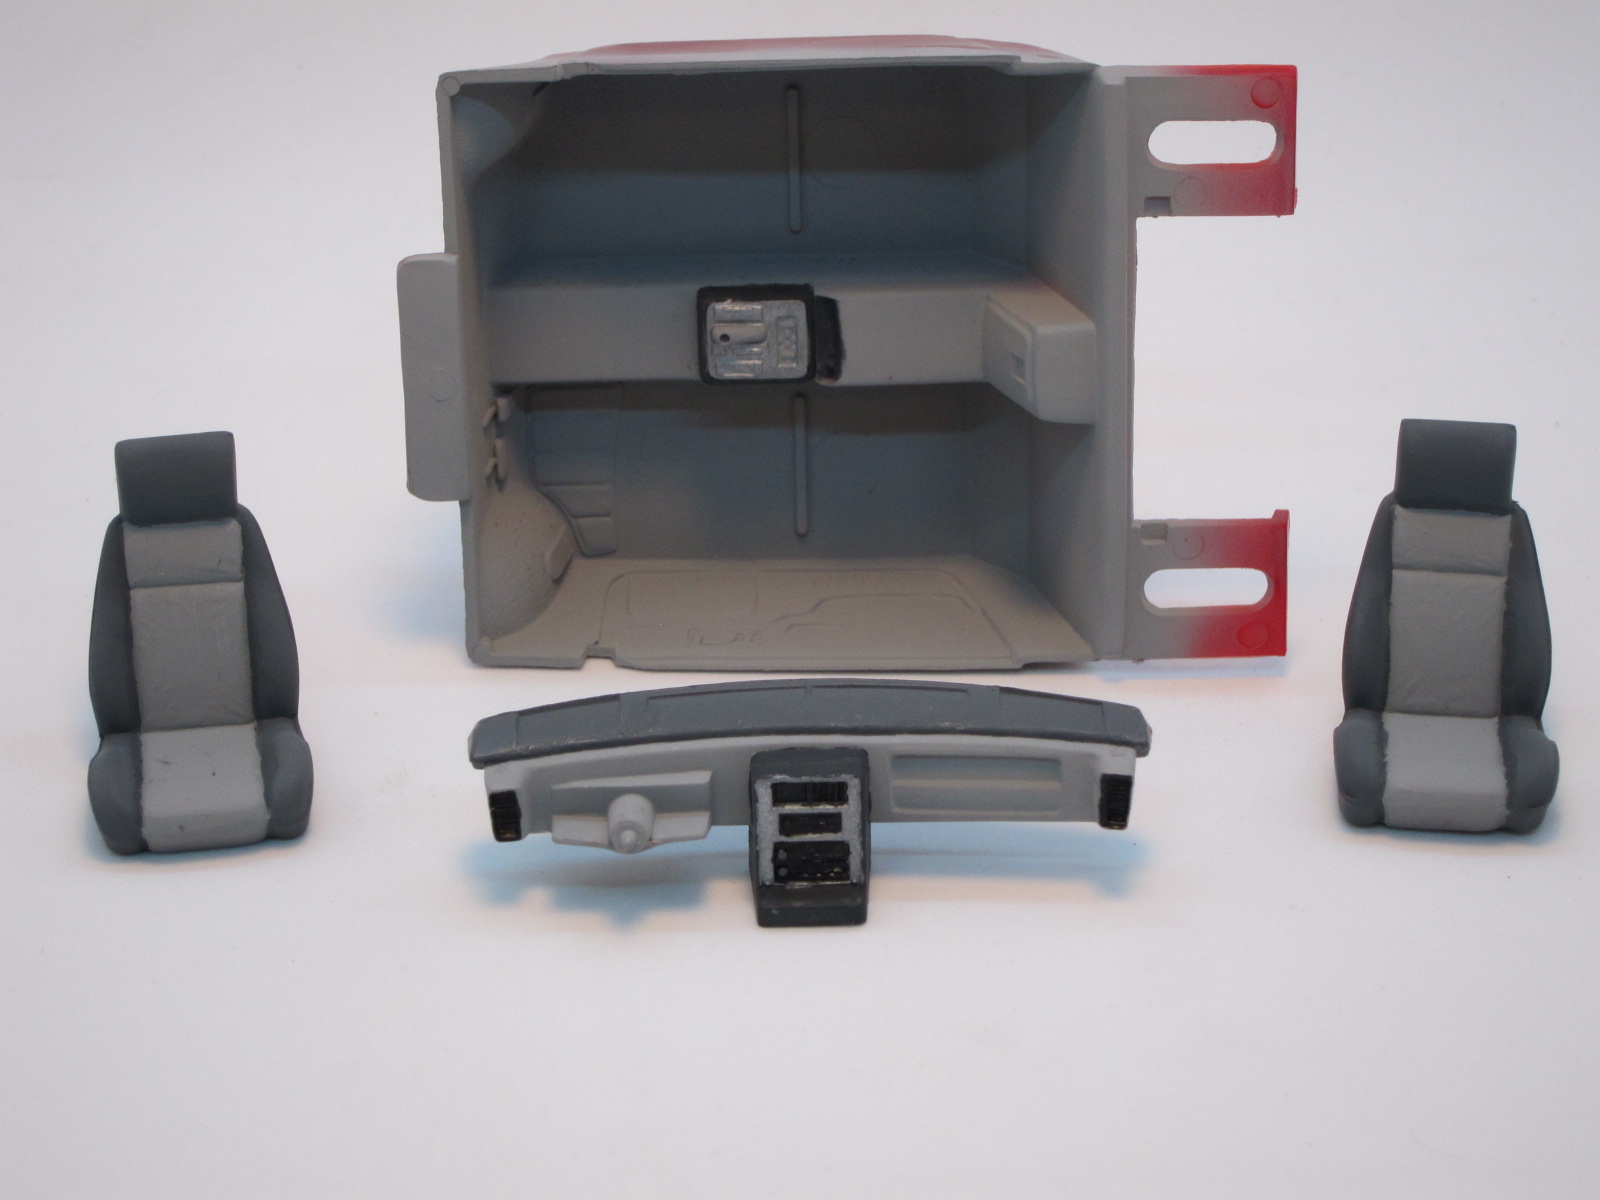
Post by Firemist on Jun 26, 2019 1:57:10 GMT
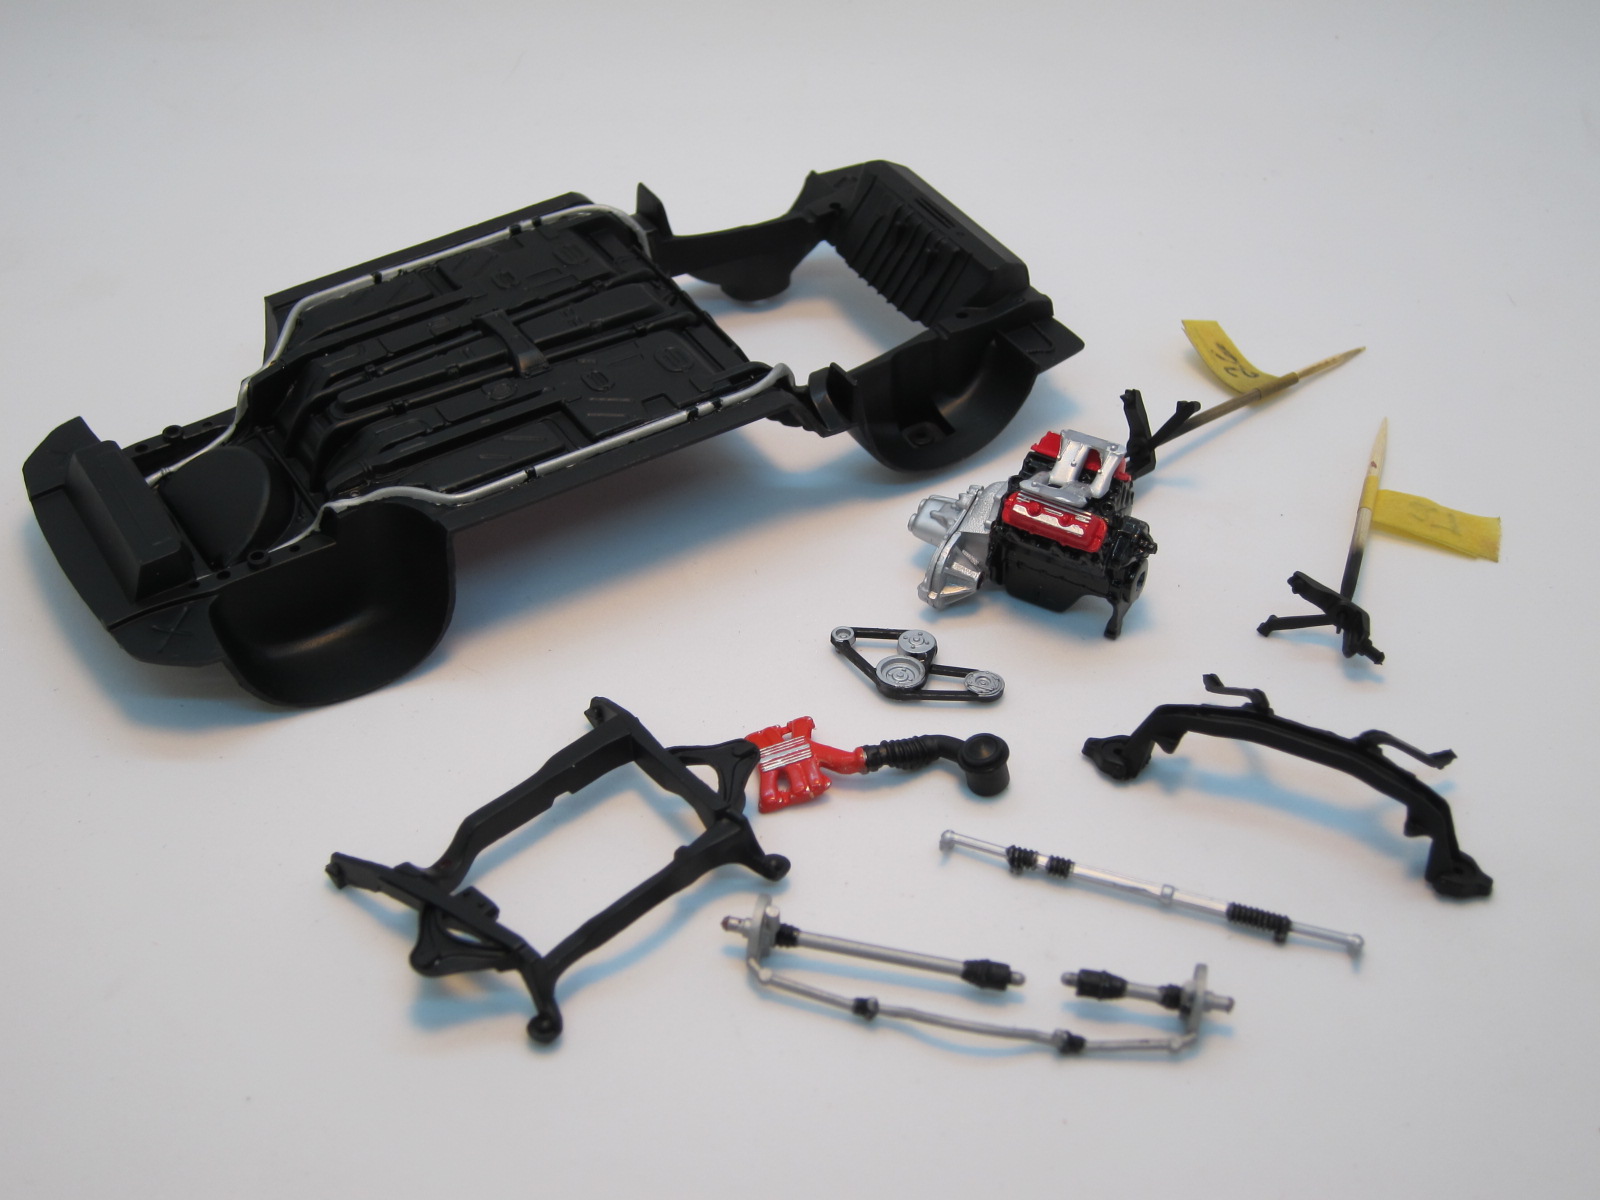
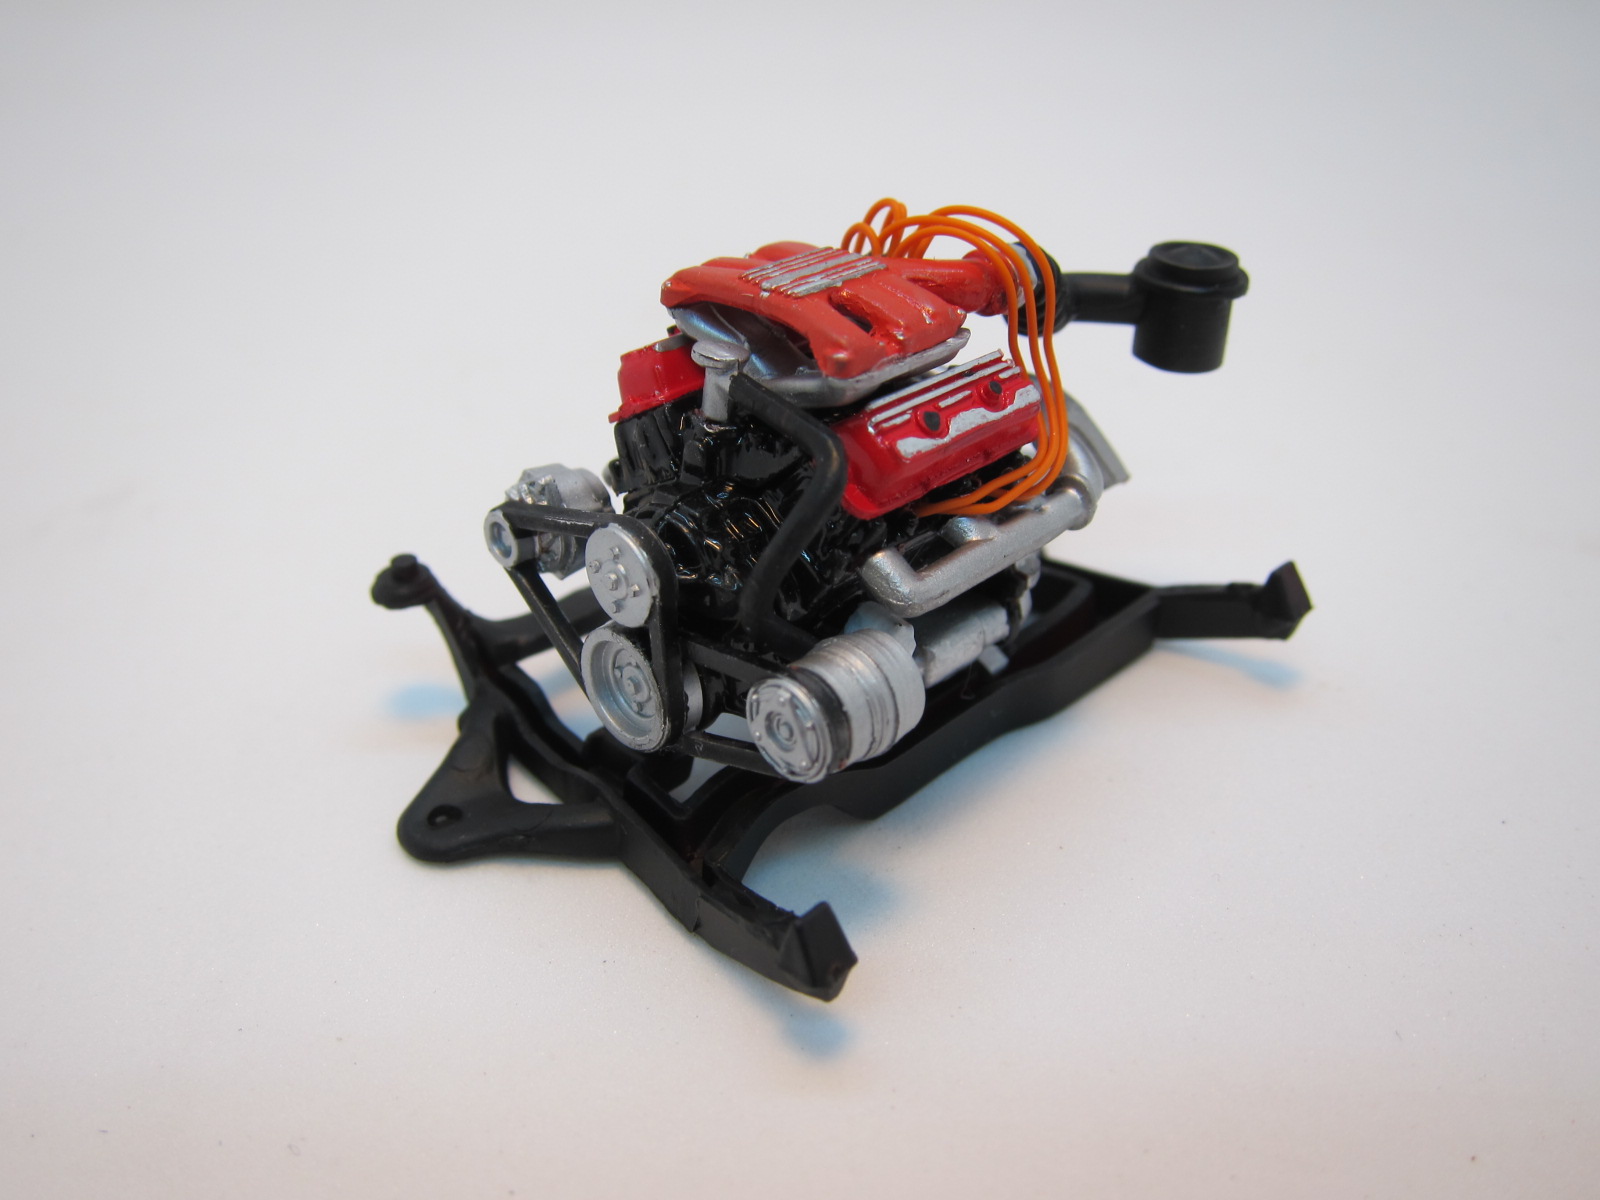
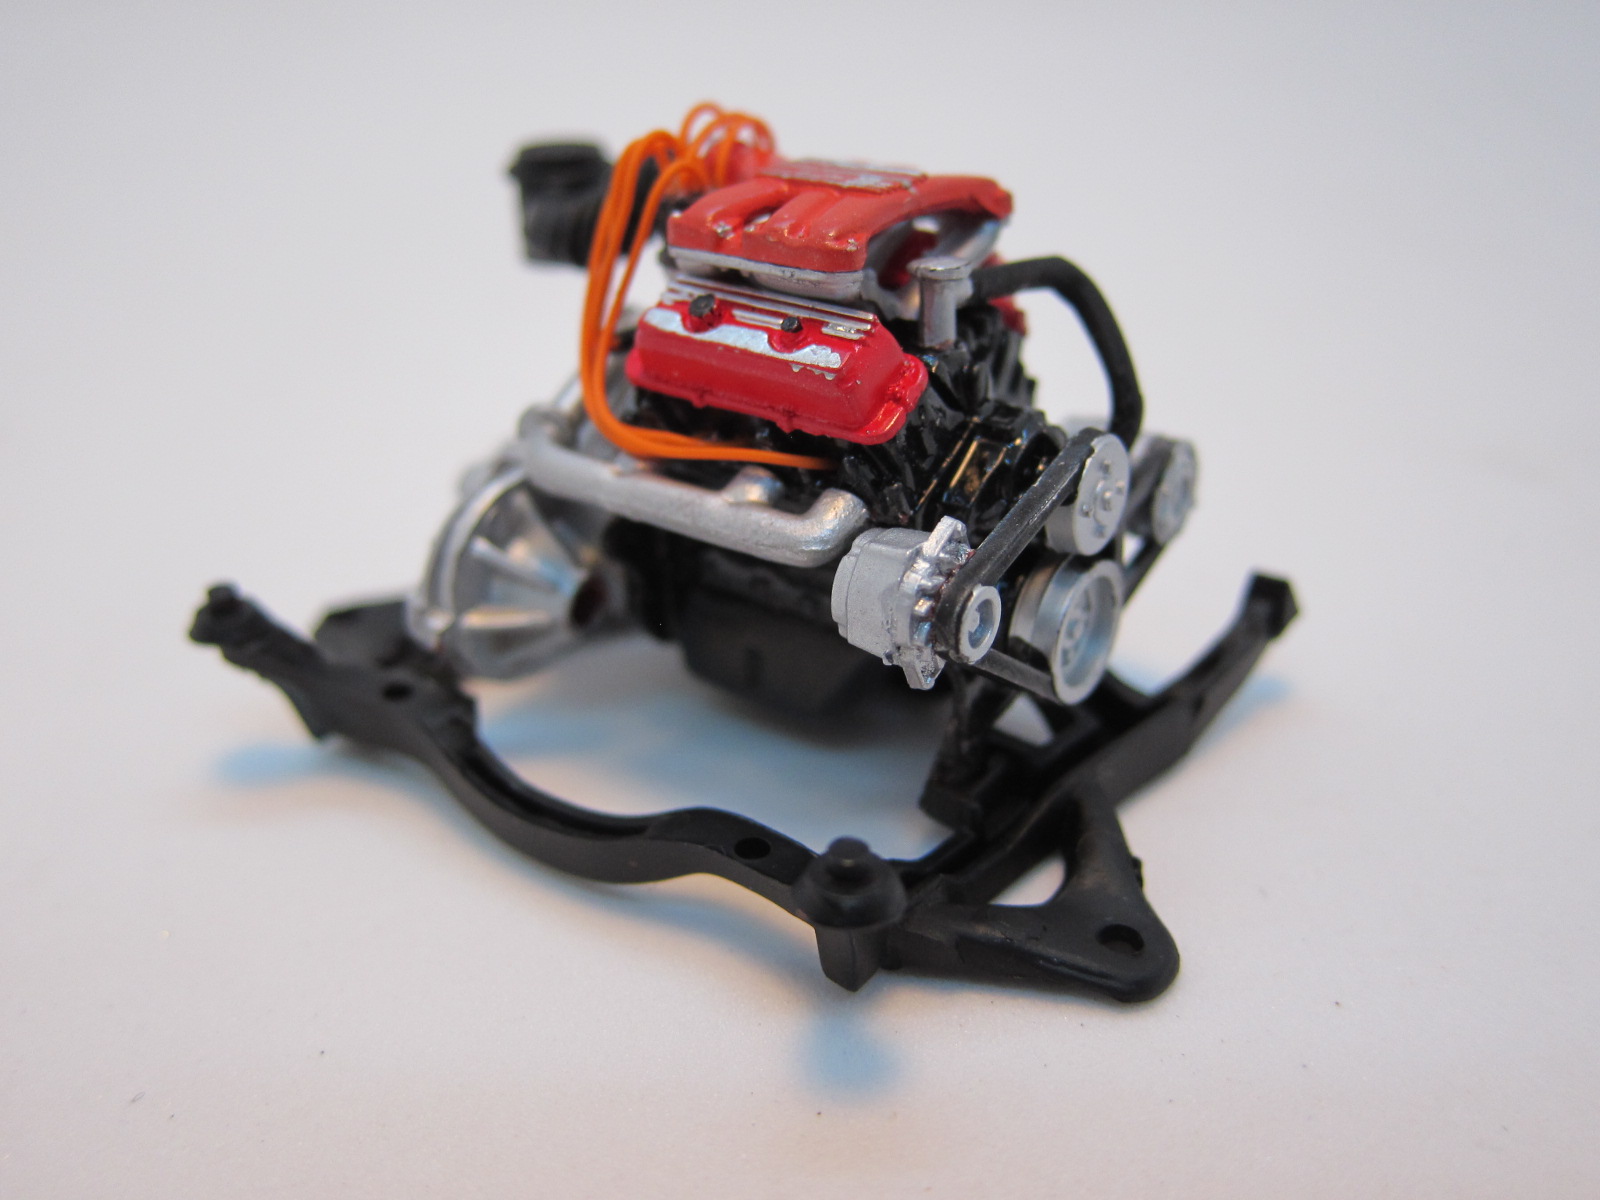
I finished the engine and cemented it into it's frame. Also, I started on the interior, but it has a long way to go. With a little touch-up, I should be able to get the interior a little sharper. The kit's instructions called out for a saddle or brown interior, but I opted for the gray two-tone because it seemed much more interesting.
|
|
|
|
Post by chadacuda on Jun 26, 2019 13:31:35 GMT
WOW!
Great detailing on the Fiero GT engine
It's amazing what some paint and time can do
Well Done!
|
|
|
|
Post by Firemist on Jun 30, 2019 13:09:45 GMT
Feedback and compliments are always appreciated. Thanks Chuck! Hopefully I will have more stuff to post soon.
|
|
petel
Full Member
Posts: 158
|
Post by petel on Jul 1, 2019 17:33:31 GMT
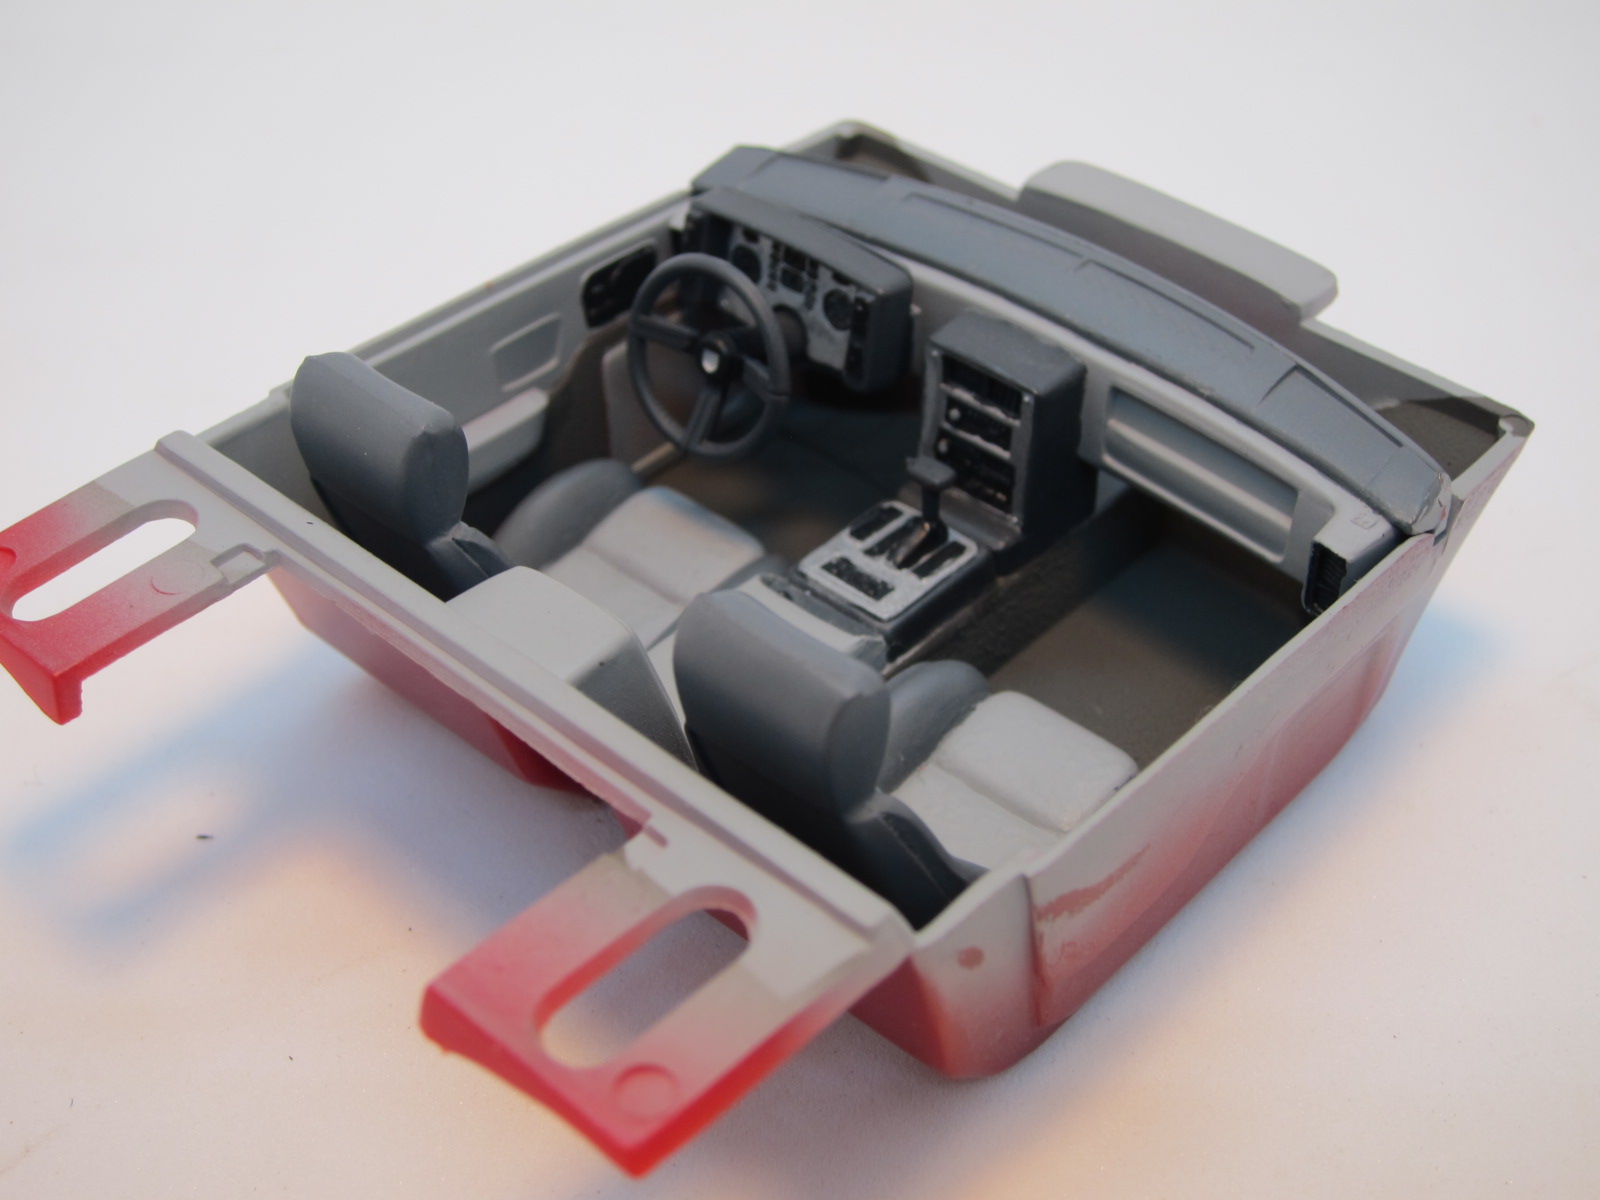
I remember waiting for those cars to hit the showrooms, the first ones I saw were at a dealership on Rt. 27 in Edison. After waiting for many months I finally got to see the car. I thought it was pretty cool, a small low slung sporty car that would provide good gas mileage for me when using it for work. But when the big moment came, I didn't fit in the car ! My legs were too long, the roof was too low...what a bummer ! The one thing that I really didn't care for was the fact that the console you see in the photo of the interior buck actually contains the fuel tank and at that time a was a heavy smoker soooooo , no Fiero, |
|
|
|
Post by Firemist on Jul 2, 2019 11:43:34 GMT
I also took a look at the car when it first came out and was considering it, but I opted for the Dodge Daytona which seemed a bit more practical. I will go into a bit of its history when I finish the model. What I really liked about the Fiero is that it was something fairly different than GM's usual offerings. It could of been much better car, but it was still very innovative considering the offerings of the time.
|
|
|
|
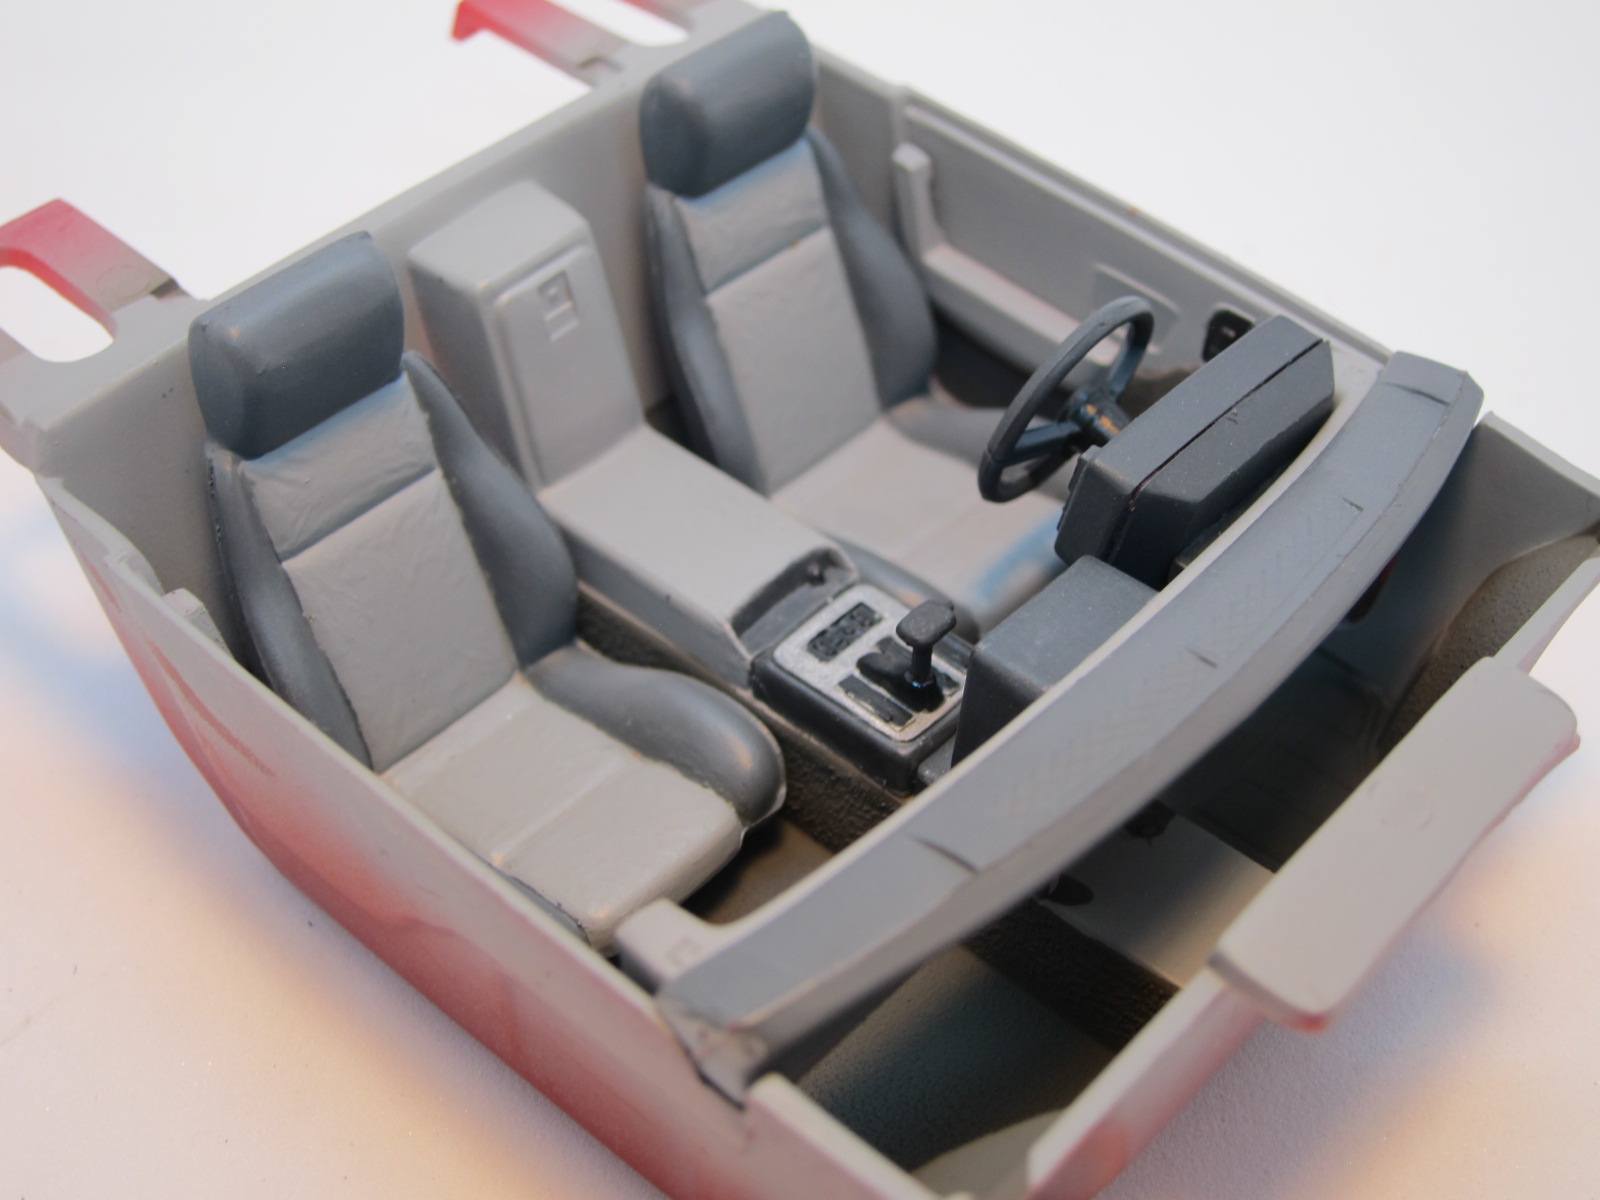
Post by Firemist on Jul 10, 2019 2:29:02 GMT
Finished the interior.
|
|
|
|
Post by Firemist on Jul 27, 2019 14:47:51 GMT
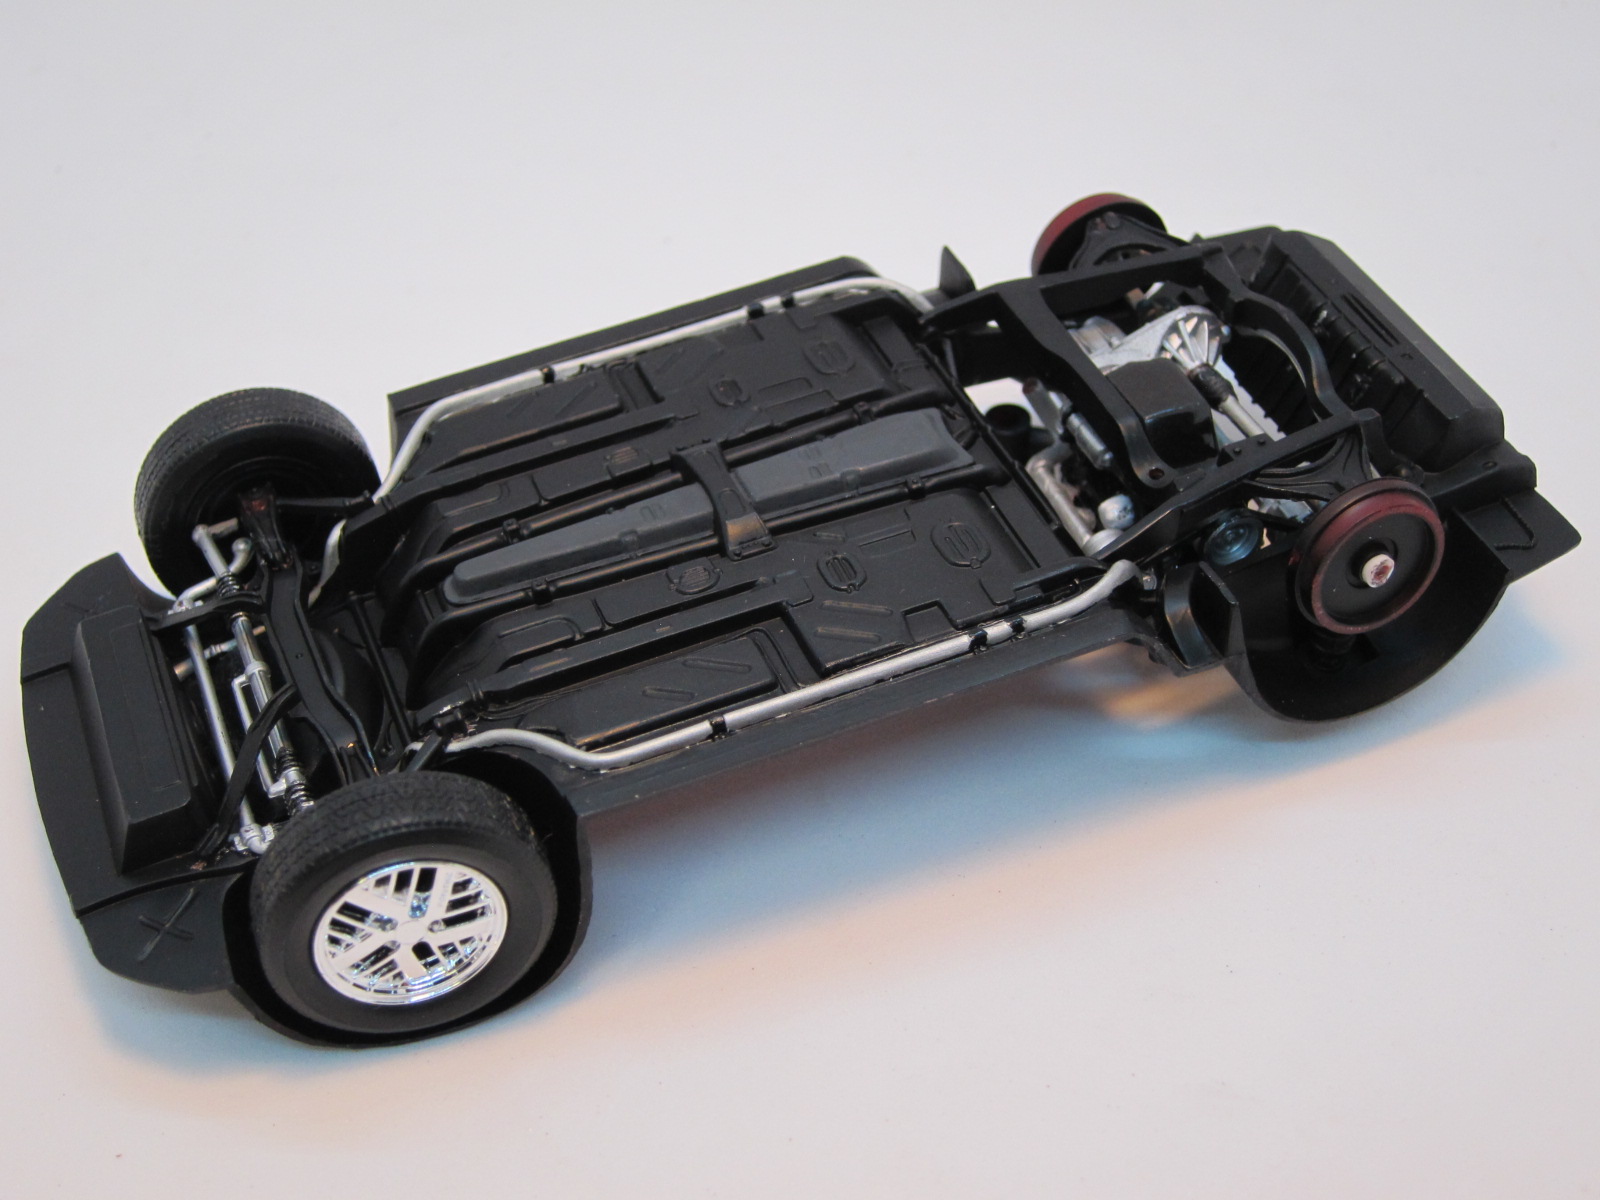
After the painting the gas tank a flat gray, I assembled the chassis and attached the engine. Contrary to the instructions, you might want to leave the exhaust system off until you place the body on chassis in order to make sure the tips of the exhaust are even in their recesses on the rear bumper.
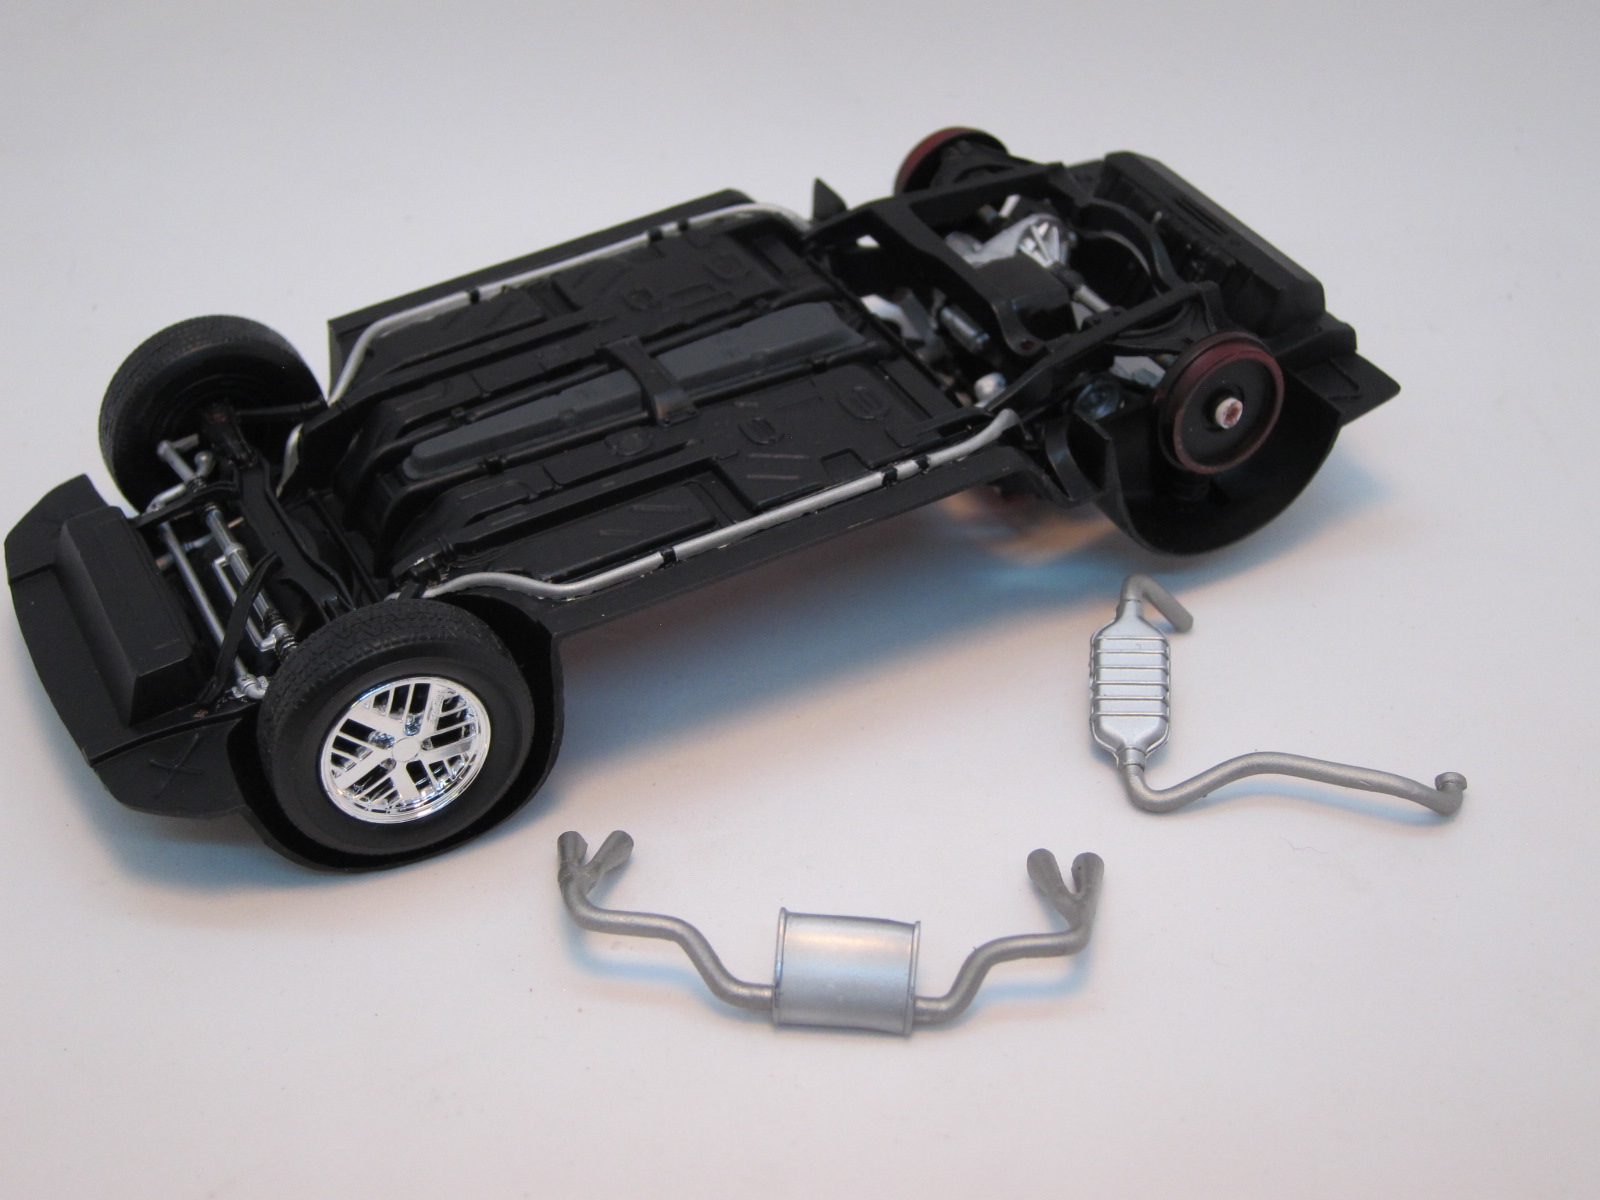
Monogram came up with a clever axle system that allows you to snap the wheels on and allow them to roll. Unfortunately, it only worked for a single wheel in this case. The other wheels snapped in fine, but separated fairly easily. As a result I cut some plastic tubing and mad some retaining rings as shown on the back wheel. Again, you may want to deviate from the instructions and snap the inner part of the wheels first and a ring as shown.
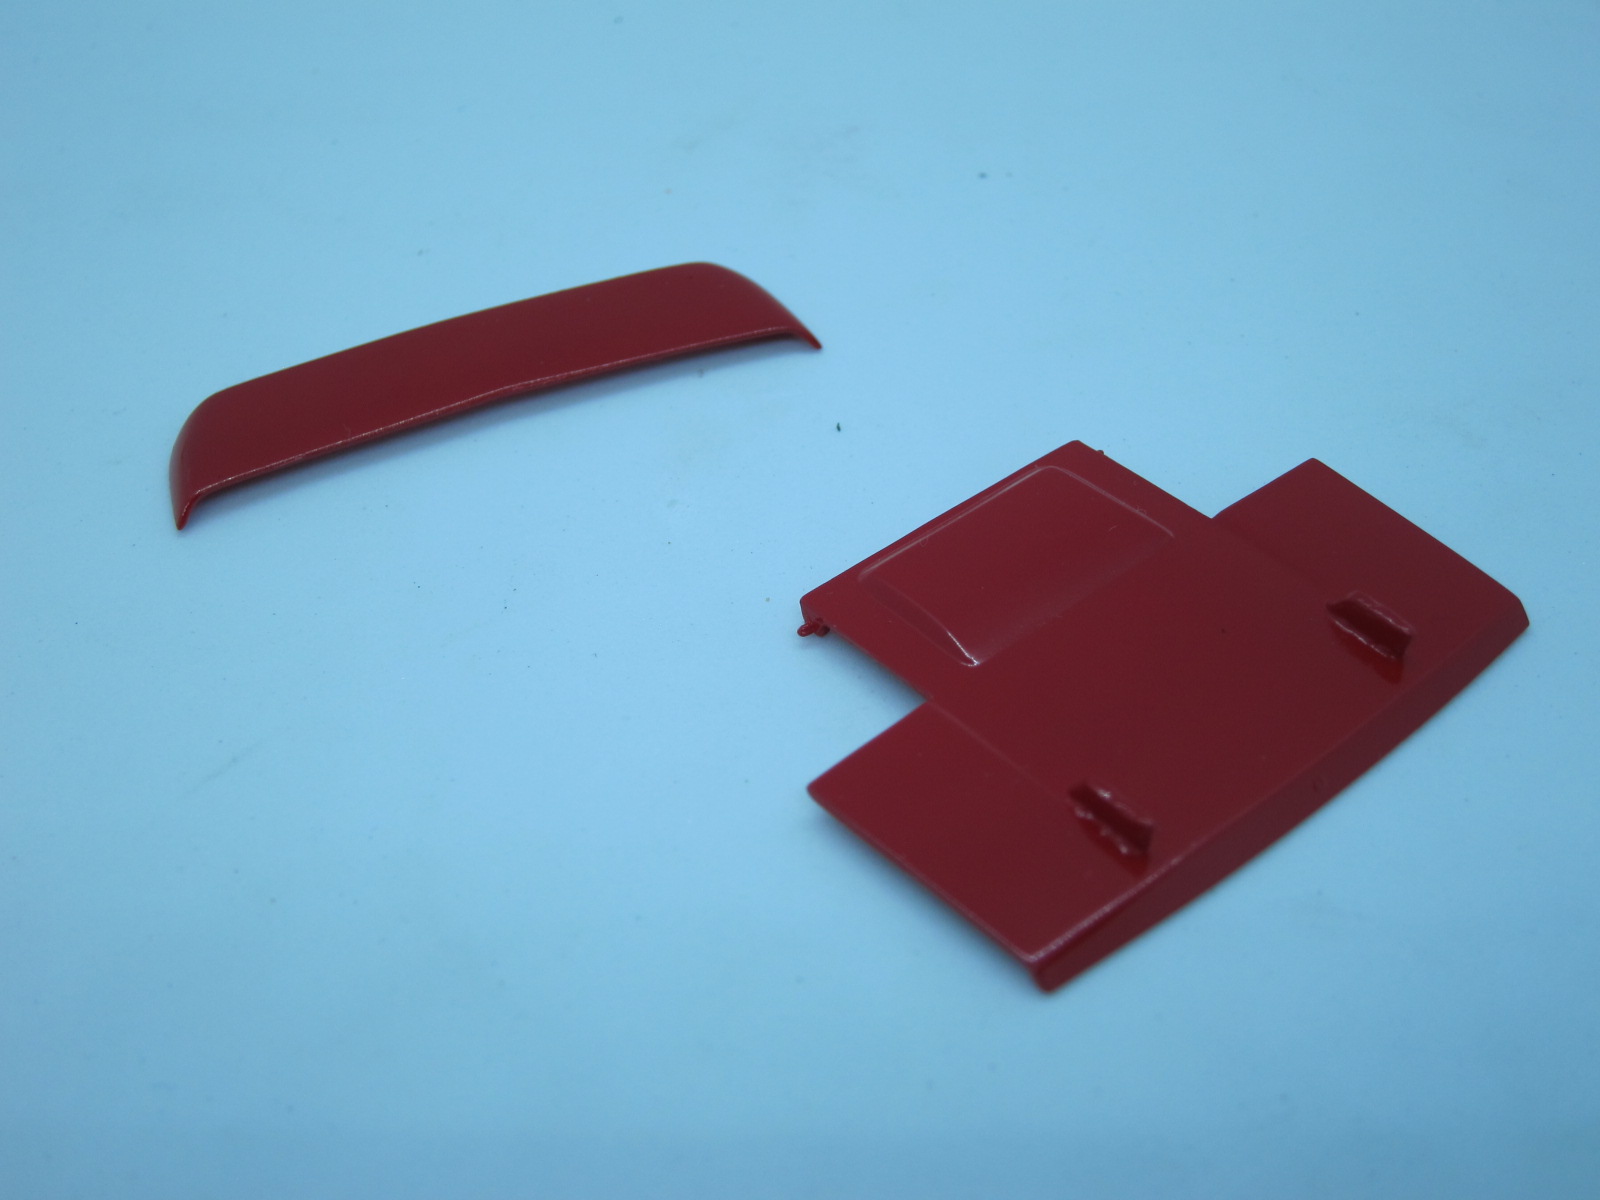
I had to repaint the rear engine hood because I attached the spoiler supports according to the instructions. The problem with doing this is that you will find that when you go to attache the spoiler assembly their will be sizable gaps. I managed to get the supports off the spoiler and attach them to the body where I filled the edges with Tamiya putty.
|
|


