|
|
Post by Firemist on Oct 2, 2019 3:02:16 GMT
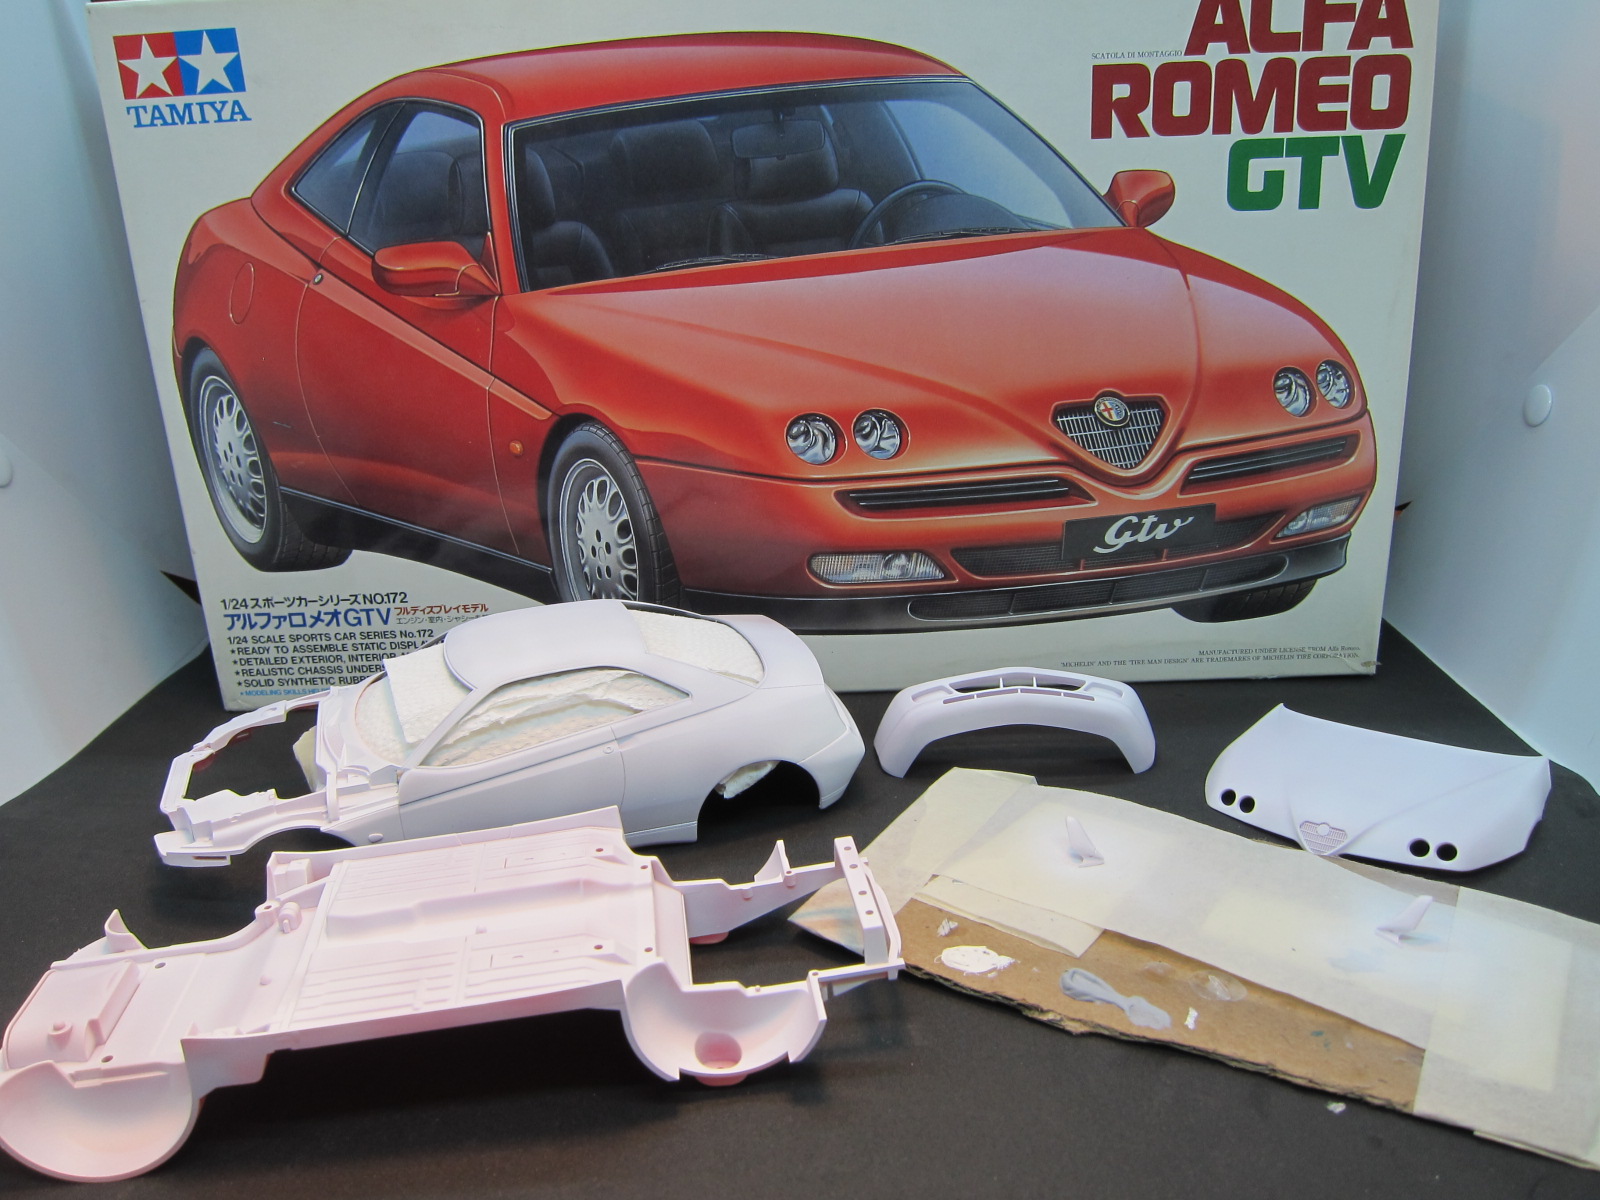
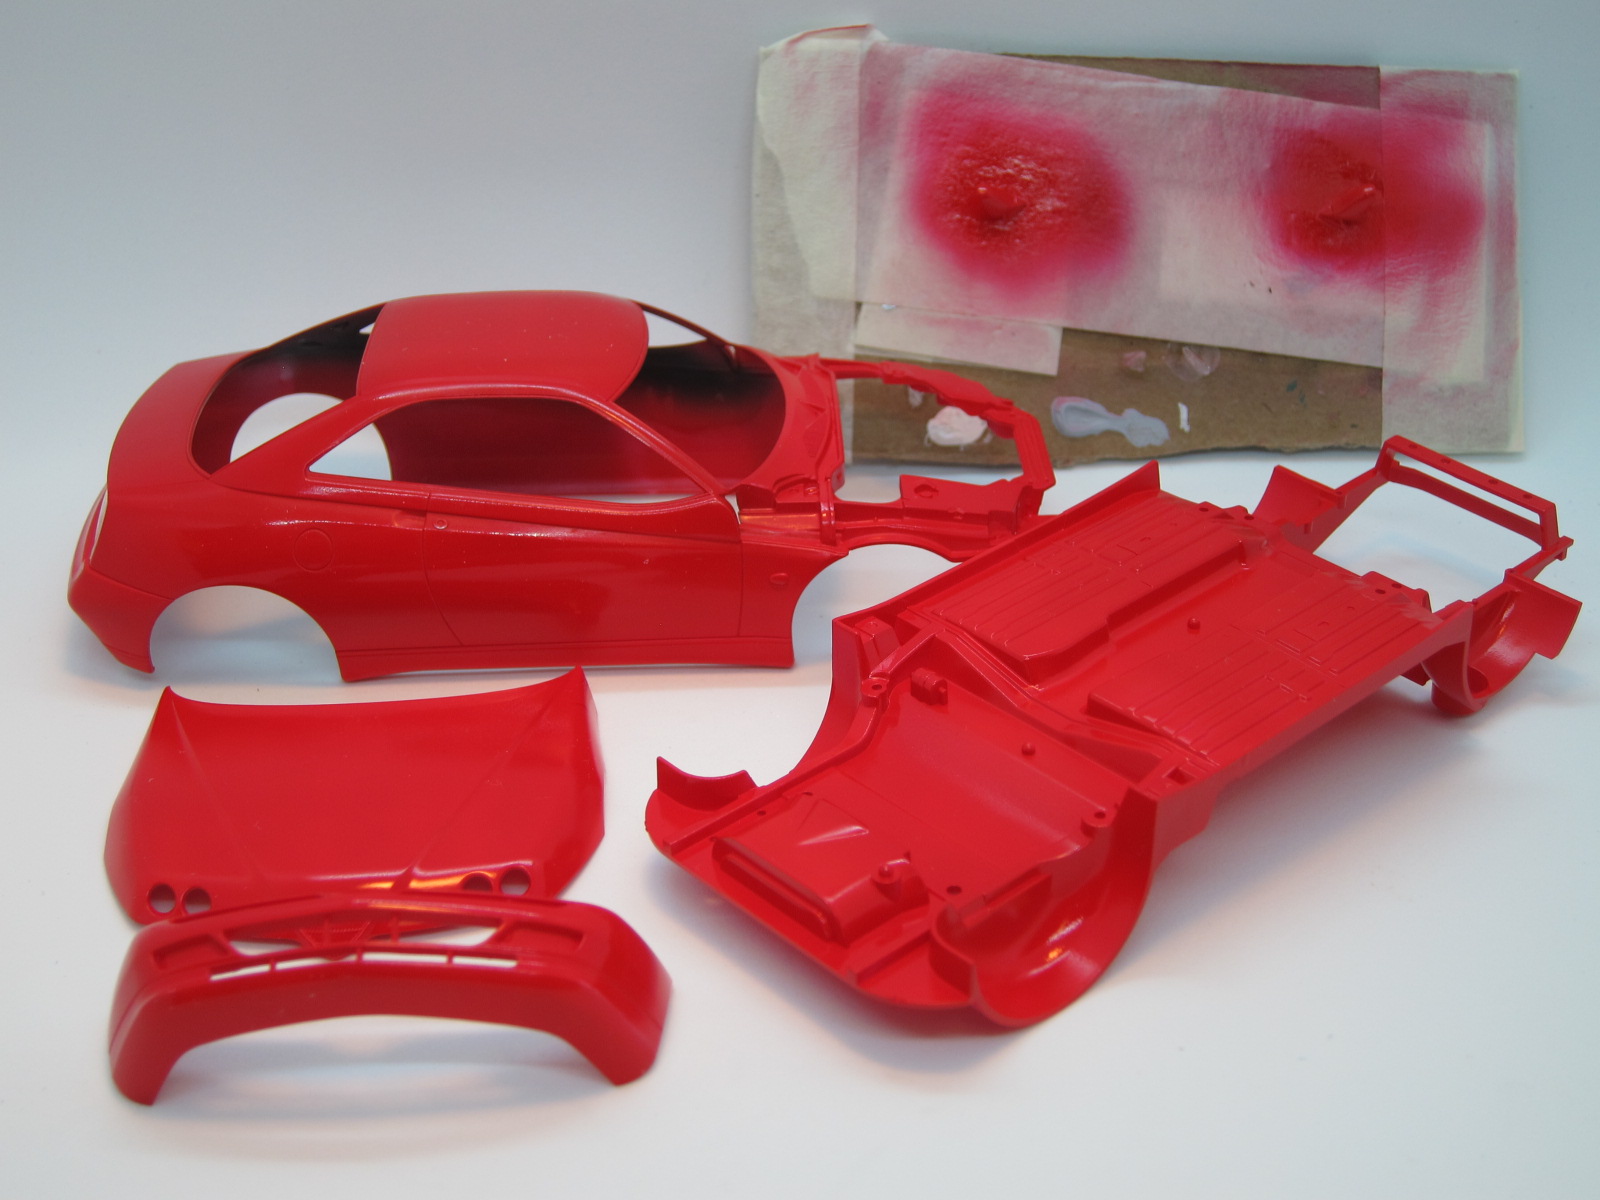
Started this kit a few days back. Primed body with Tamiya white primer. Interior will be a combination of Tamiya Semi-Gloss Black and German Gray. For the most part I plan to follow the kits painting directions as closely as possible.
|
|
|
|
Post by Firemist on Oct 5, 2019 15:47:33 GMT
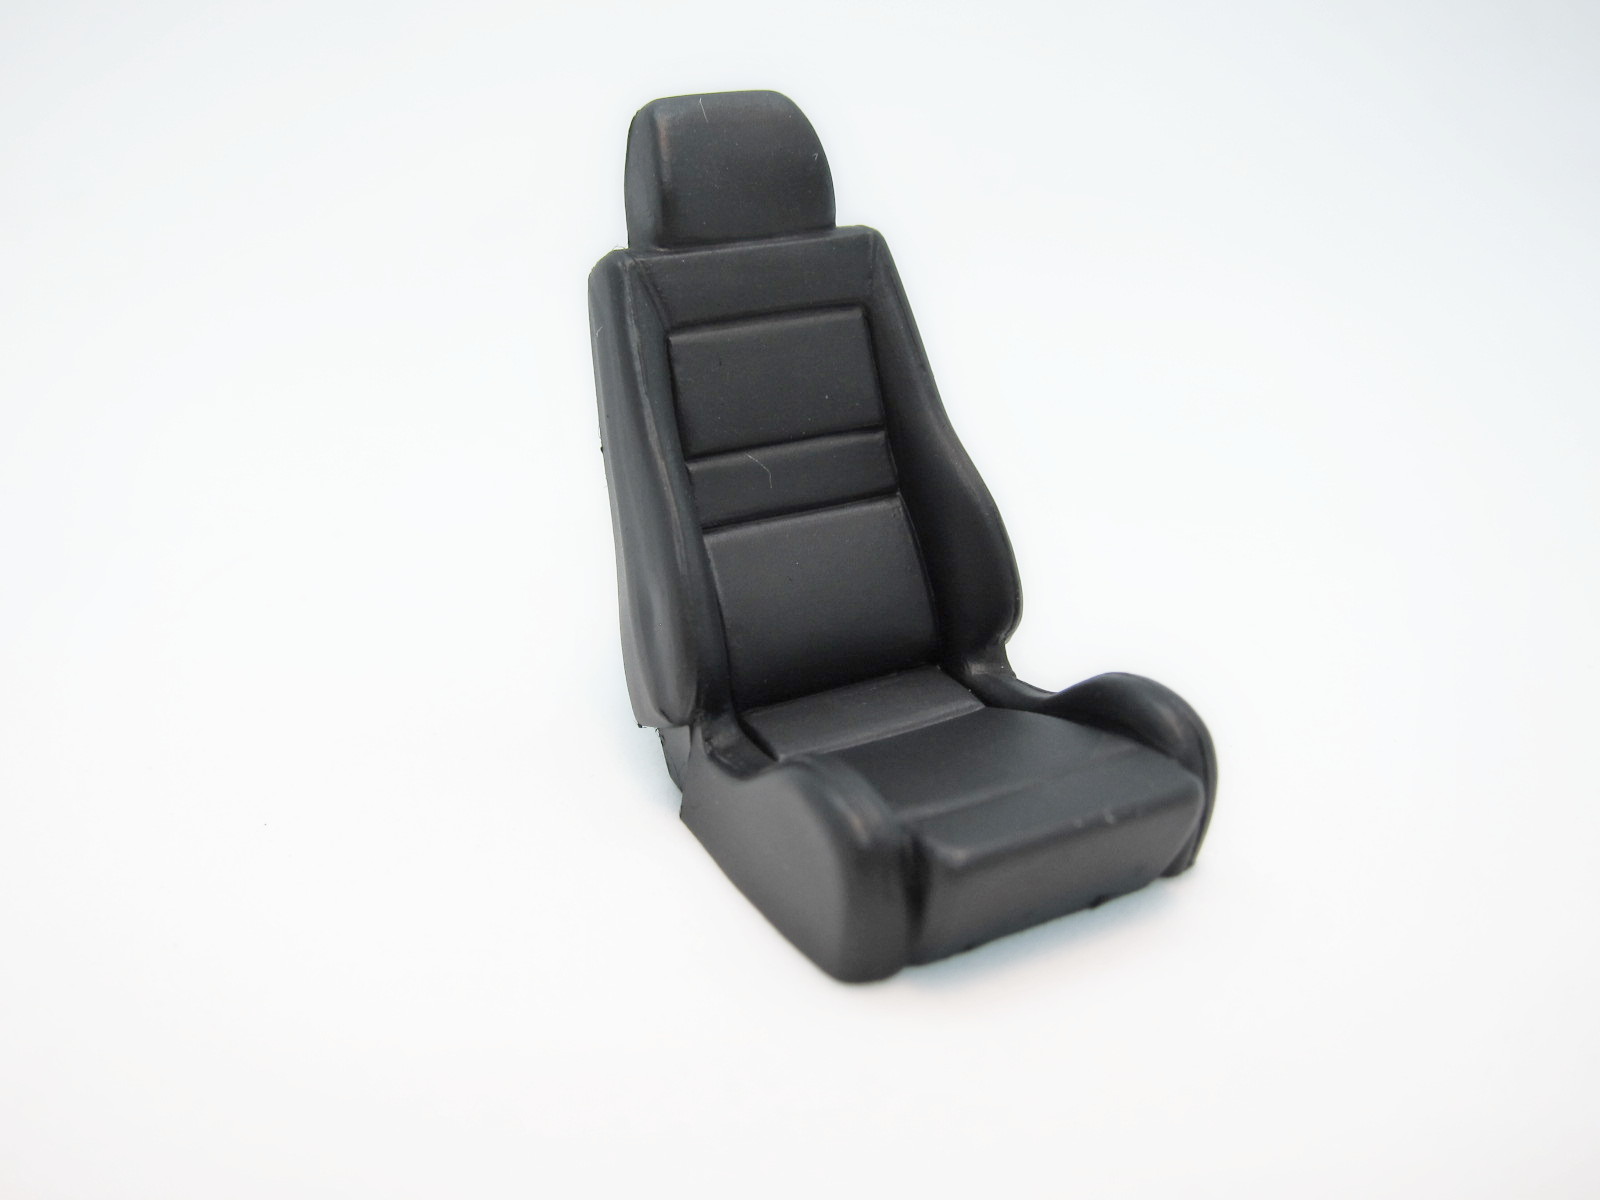
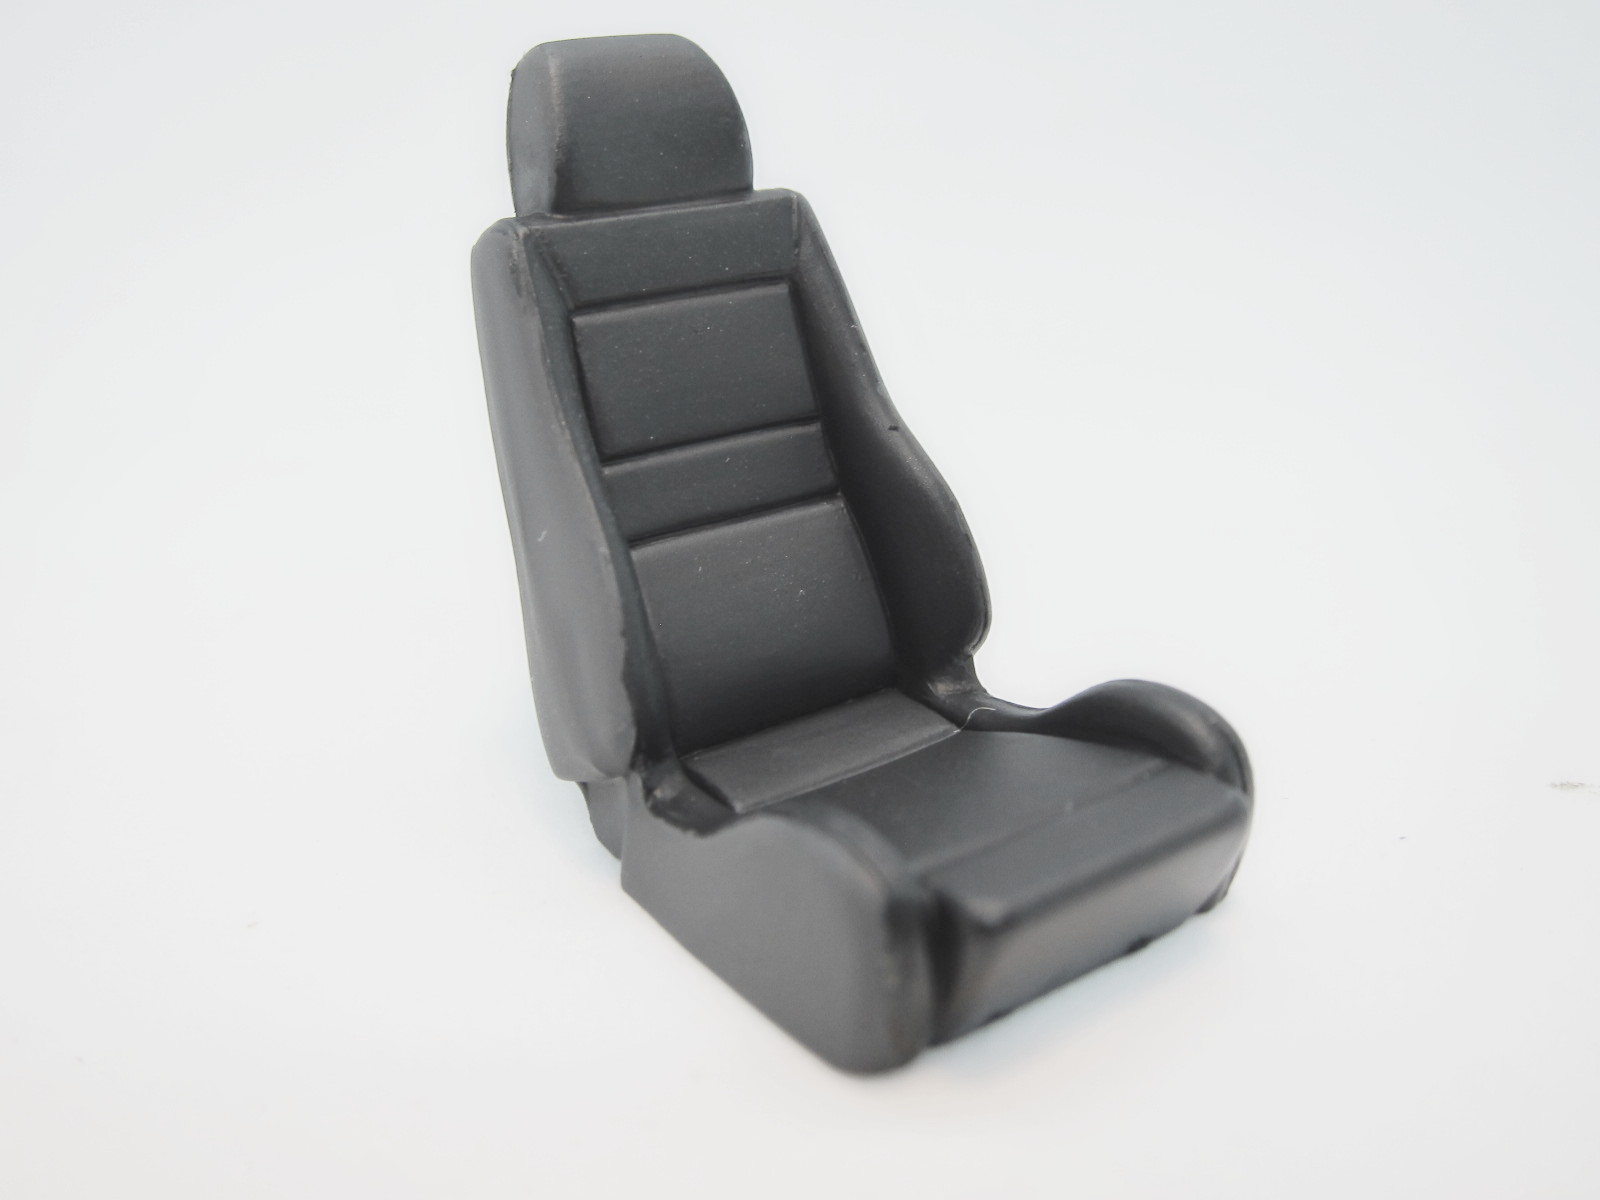
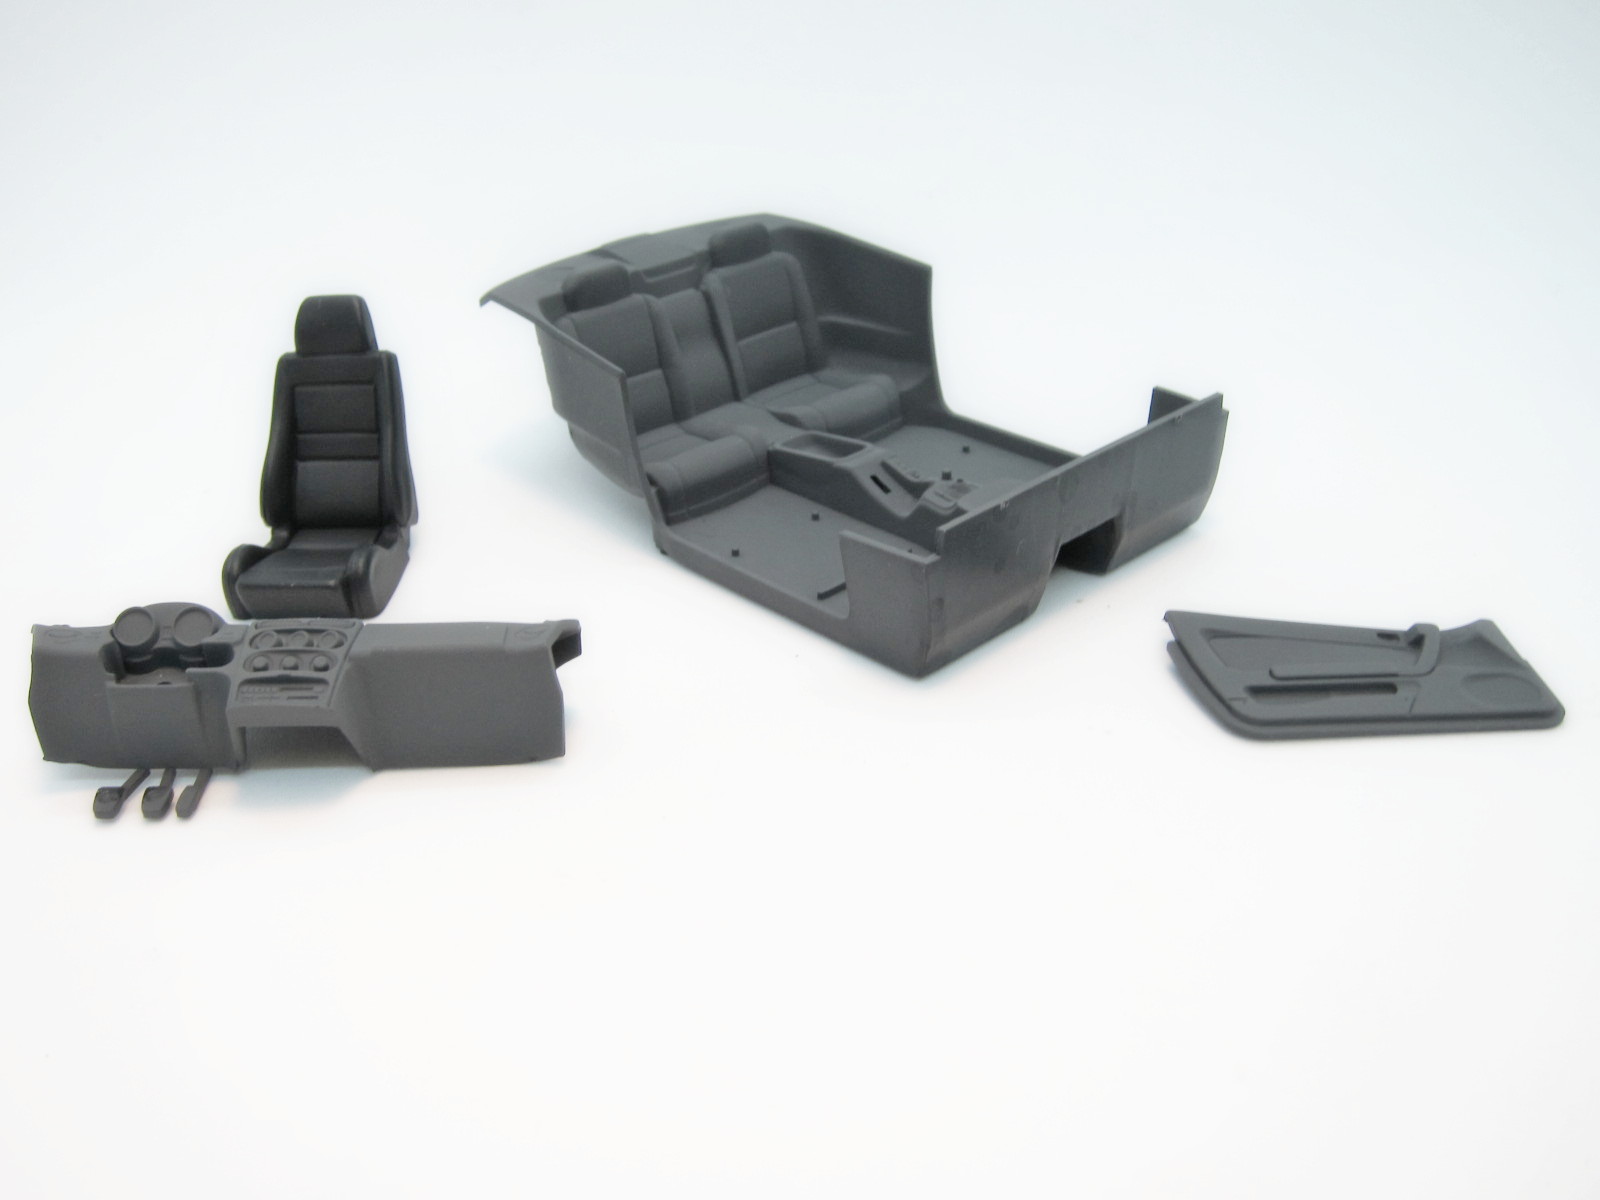
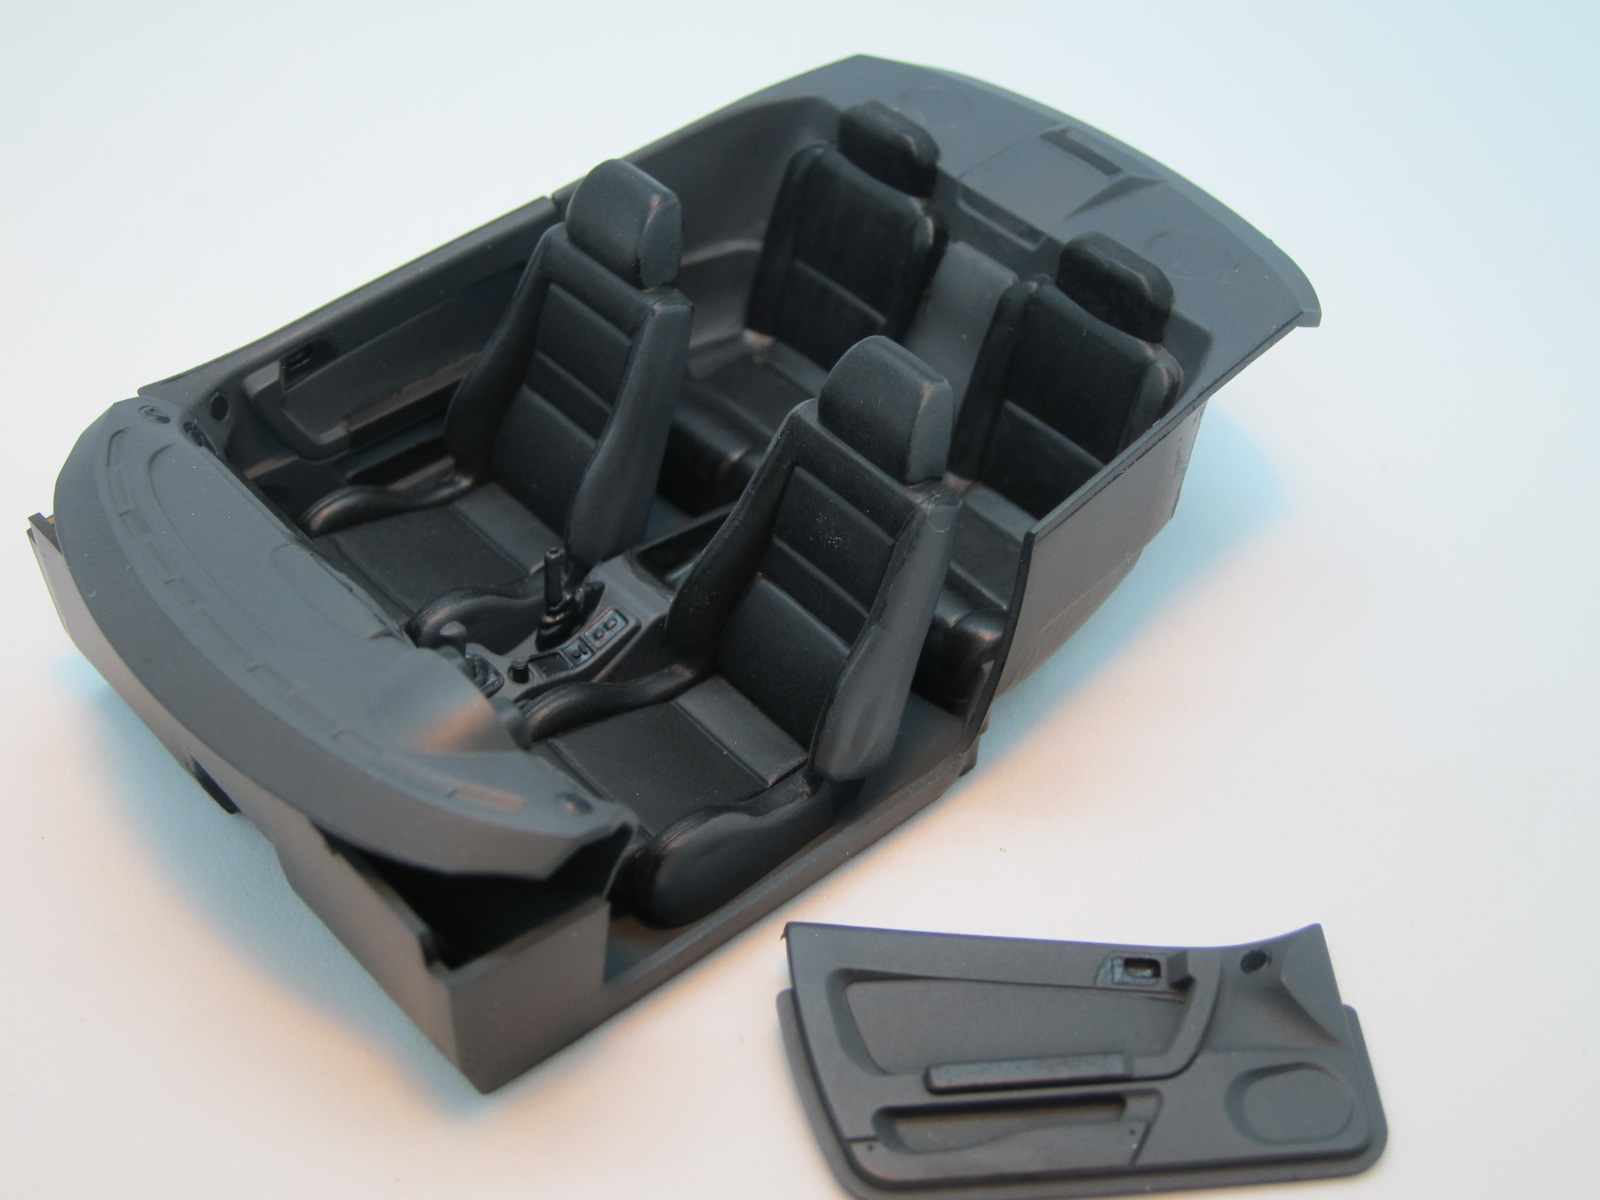
Base coated the Alfa's body parts and chasis in Tamiya Italian Red. The interior was painted with Tamiya Semi Gloss Black and Flat German Gray per the kit's instructions. I also clear coated the interior with a mixture of Tamiya Clear acrylic mixed with a Testors Acryl to give the appearance of leather and vinyl look. As I stated before, I decided to follow the kit's painting recommendations fairly closely, but I have also added some details of my own.
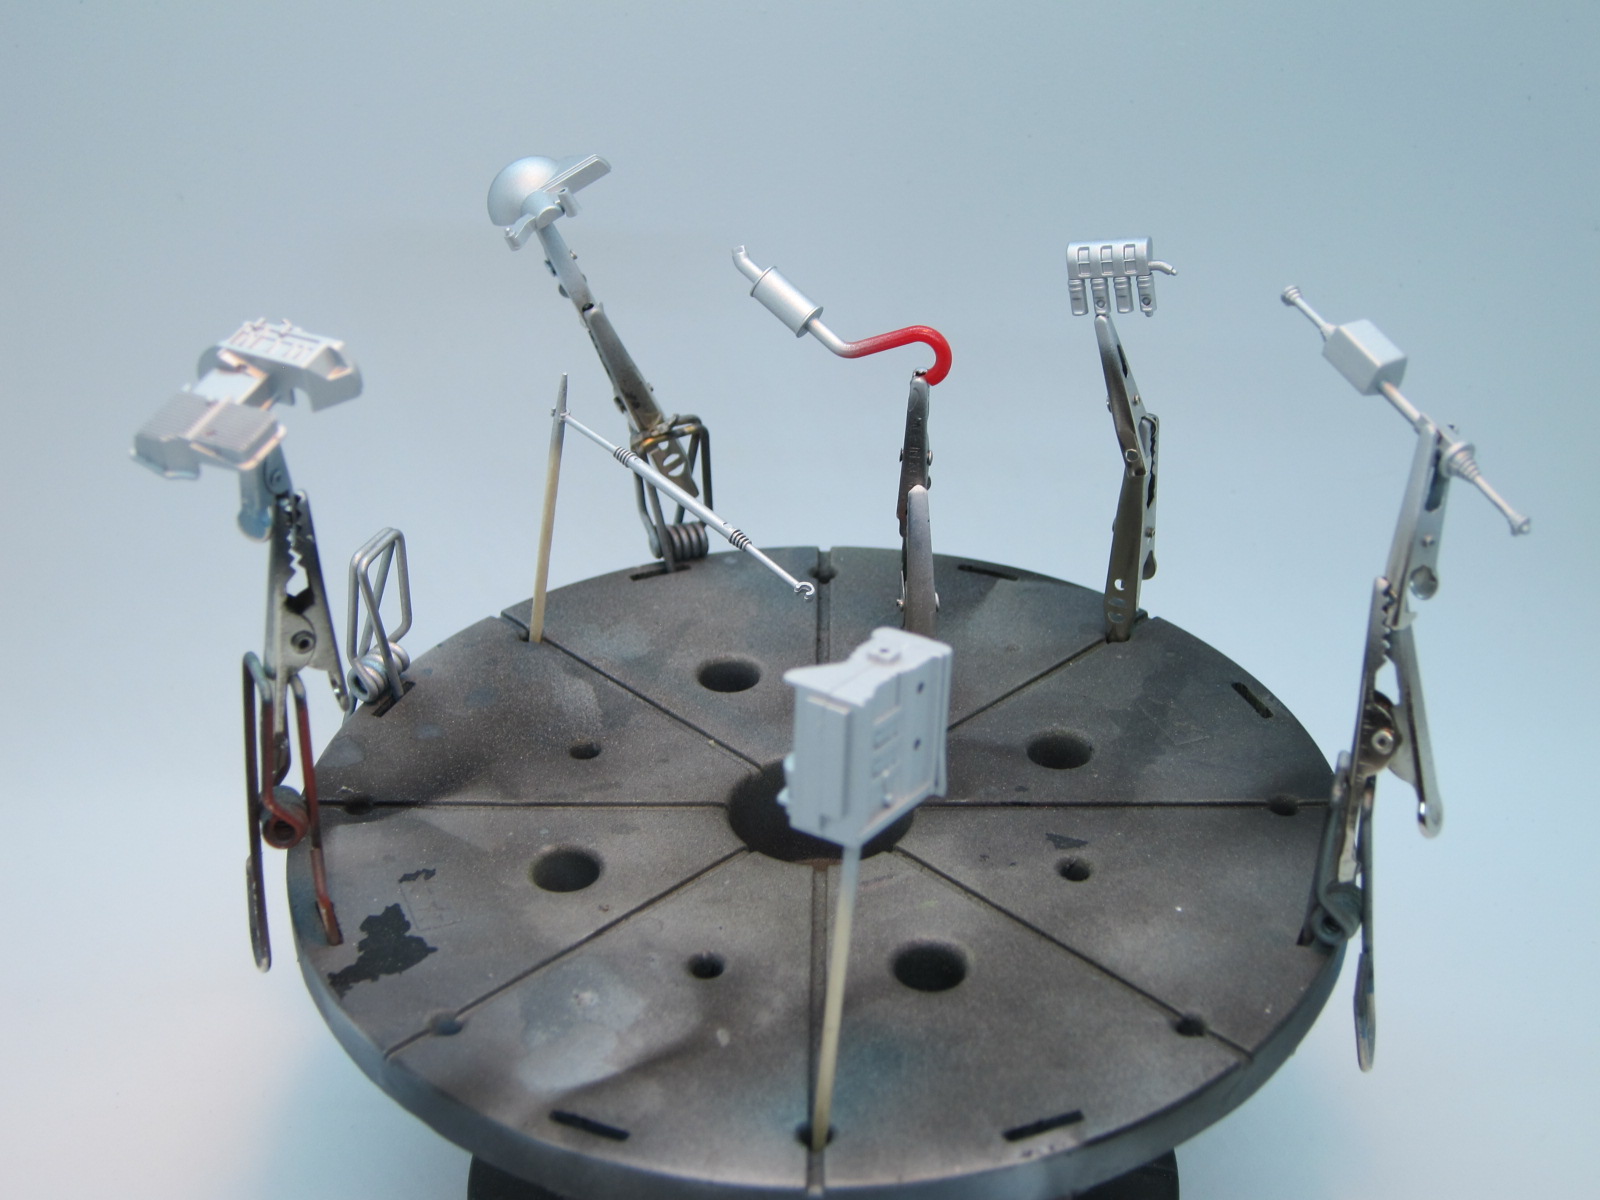
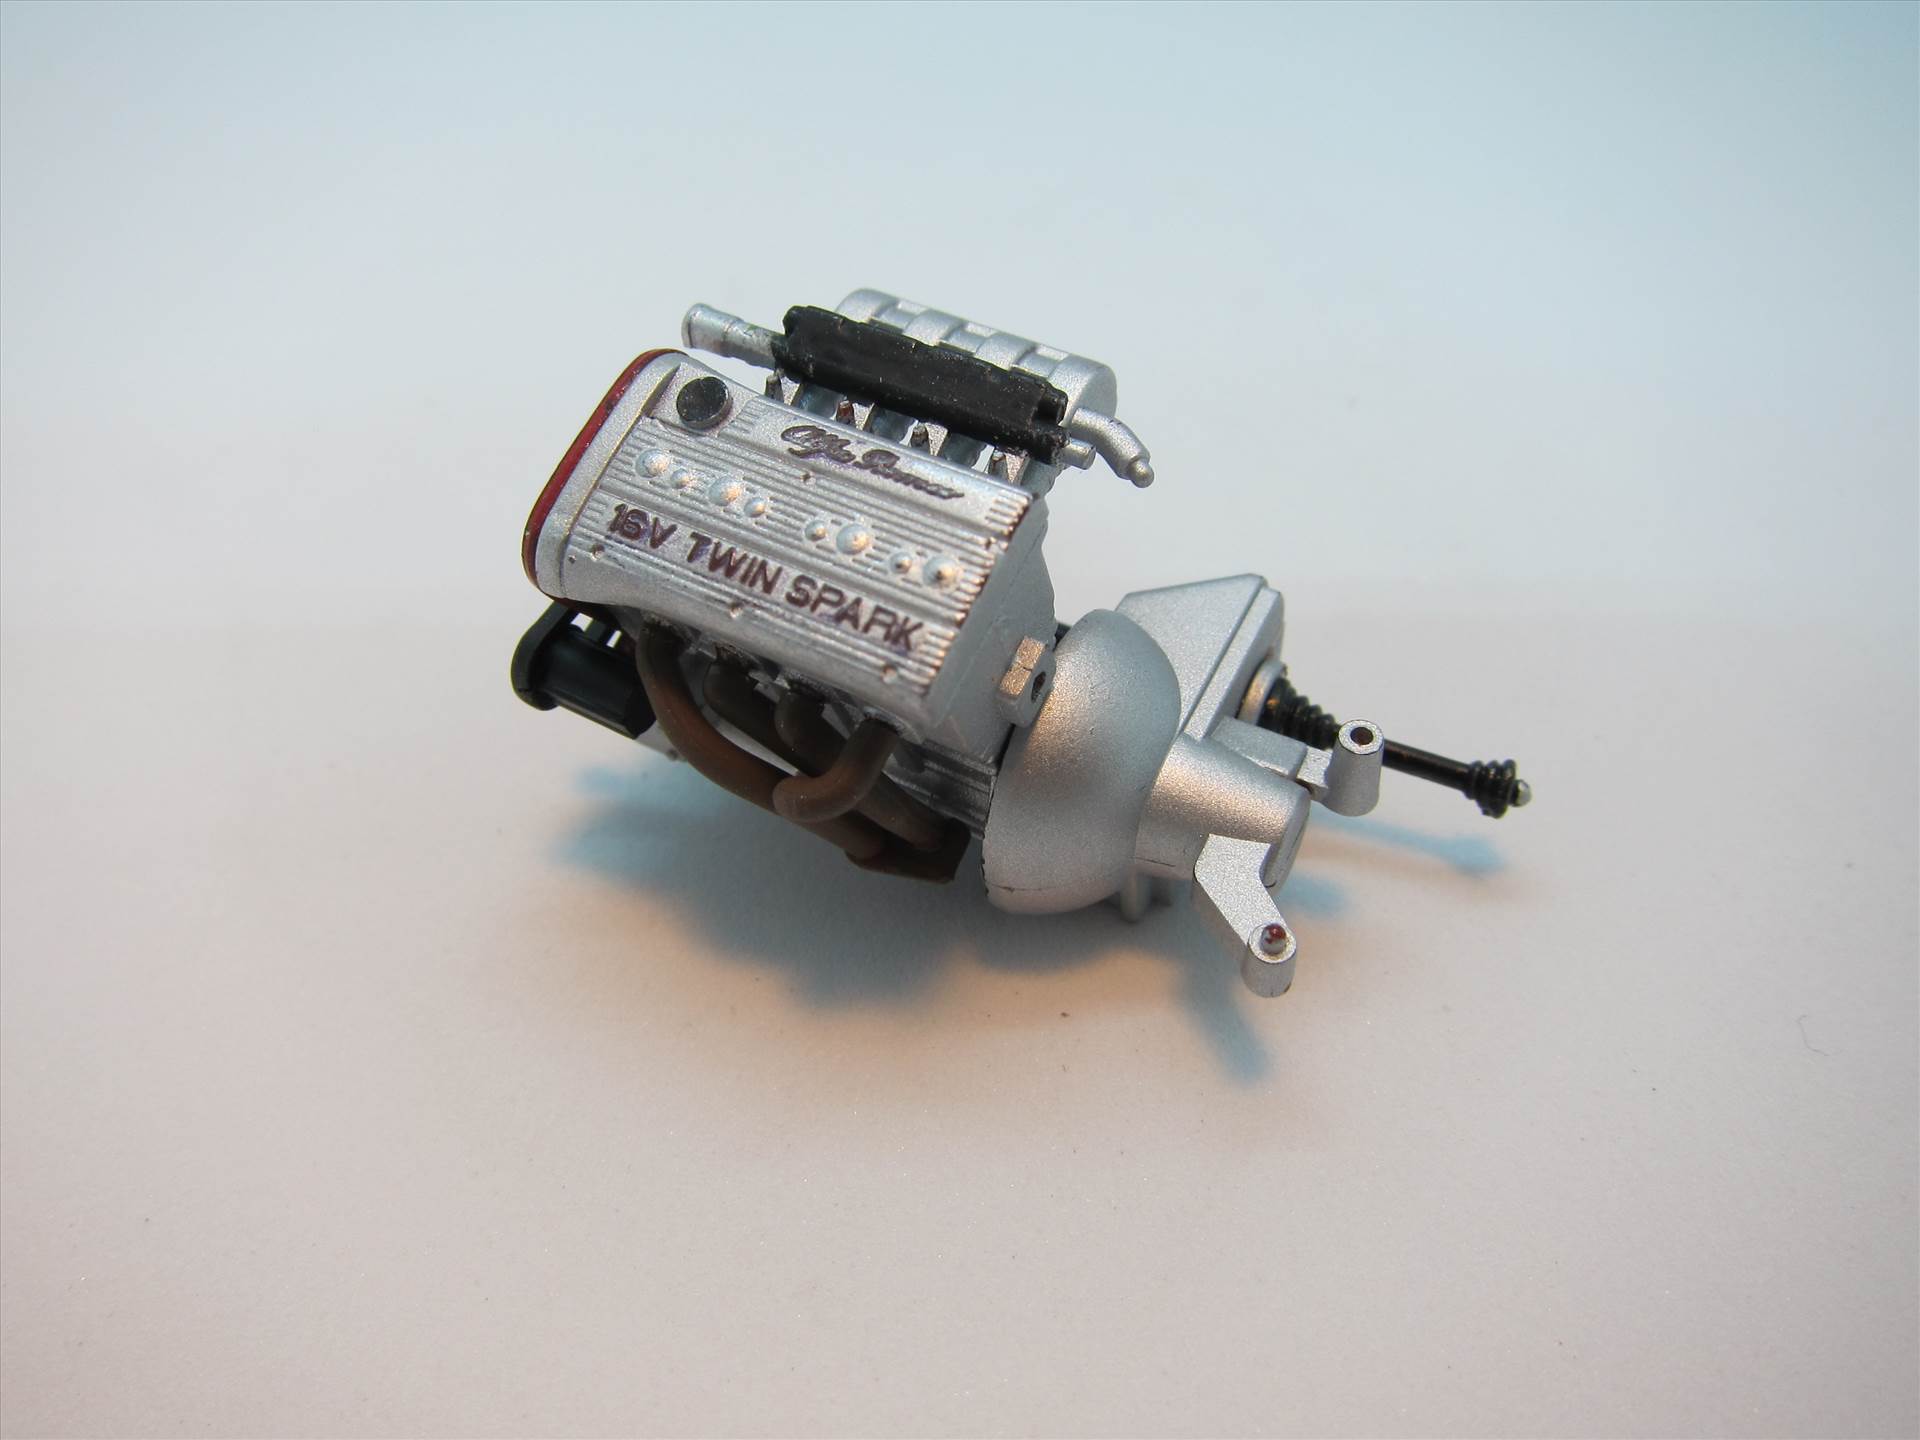
The engine parts and partial assembly were painted with Tamiya Flat Aluminum. I try to airbrush as much as possible to in effort to keep the details as sharp and clean as possible. I was considering Testors Aluminum metalizer as an alterntive, but I am curious to see how following Tamiya's recommendations will pan out.
|
|
|
|
Post by Firemist on Oct 9, 2019 18:16:13 GMT
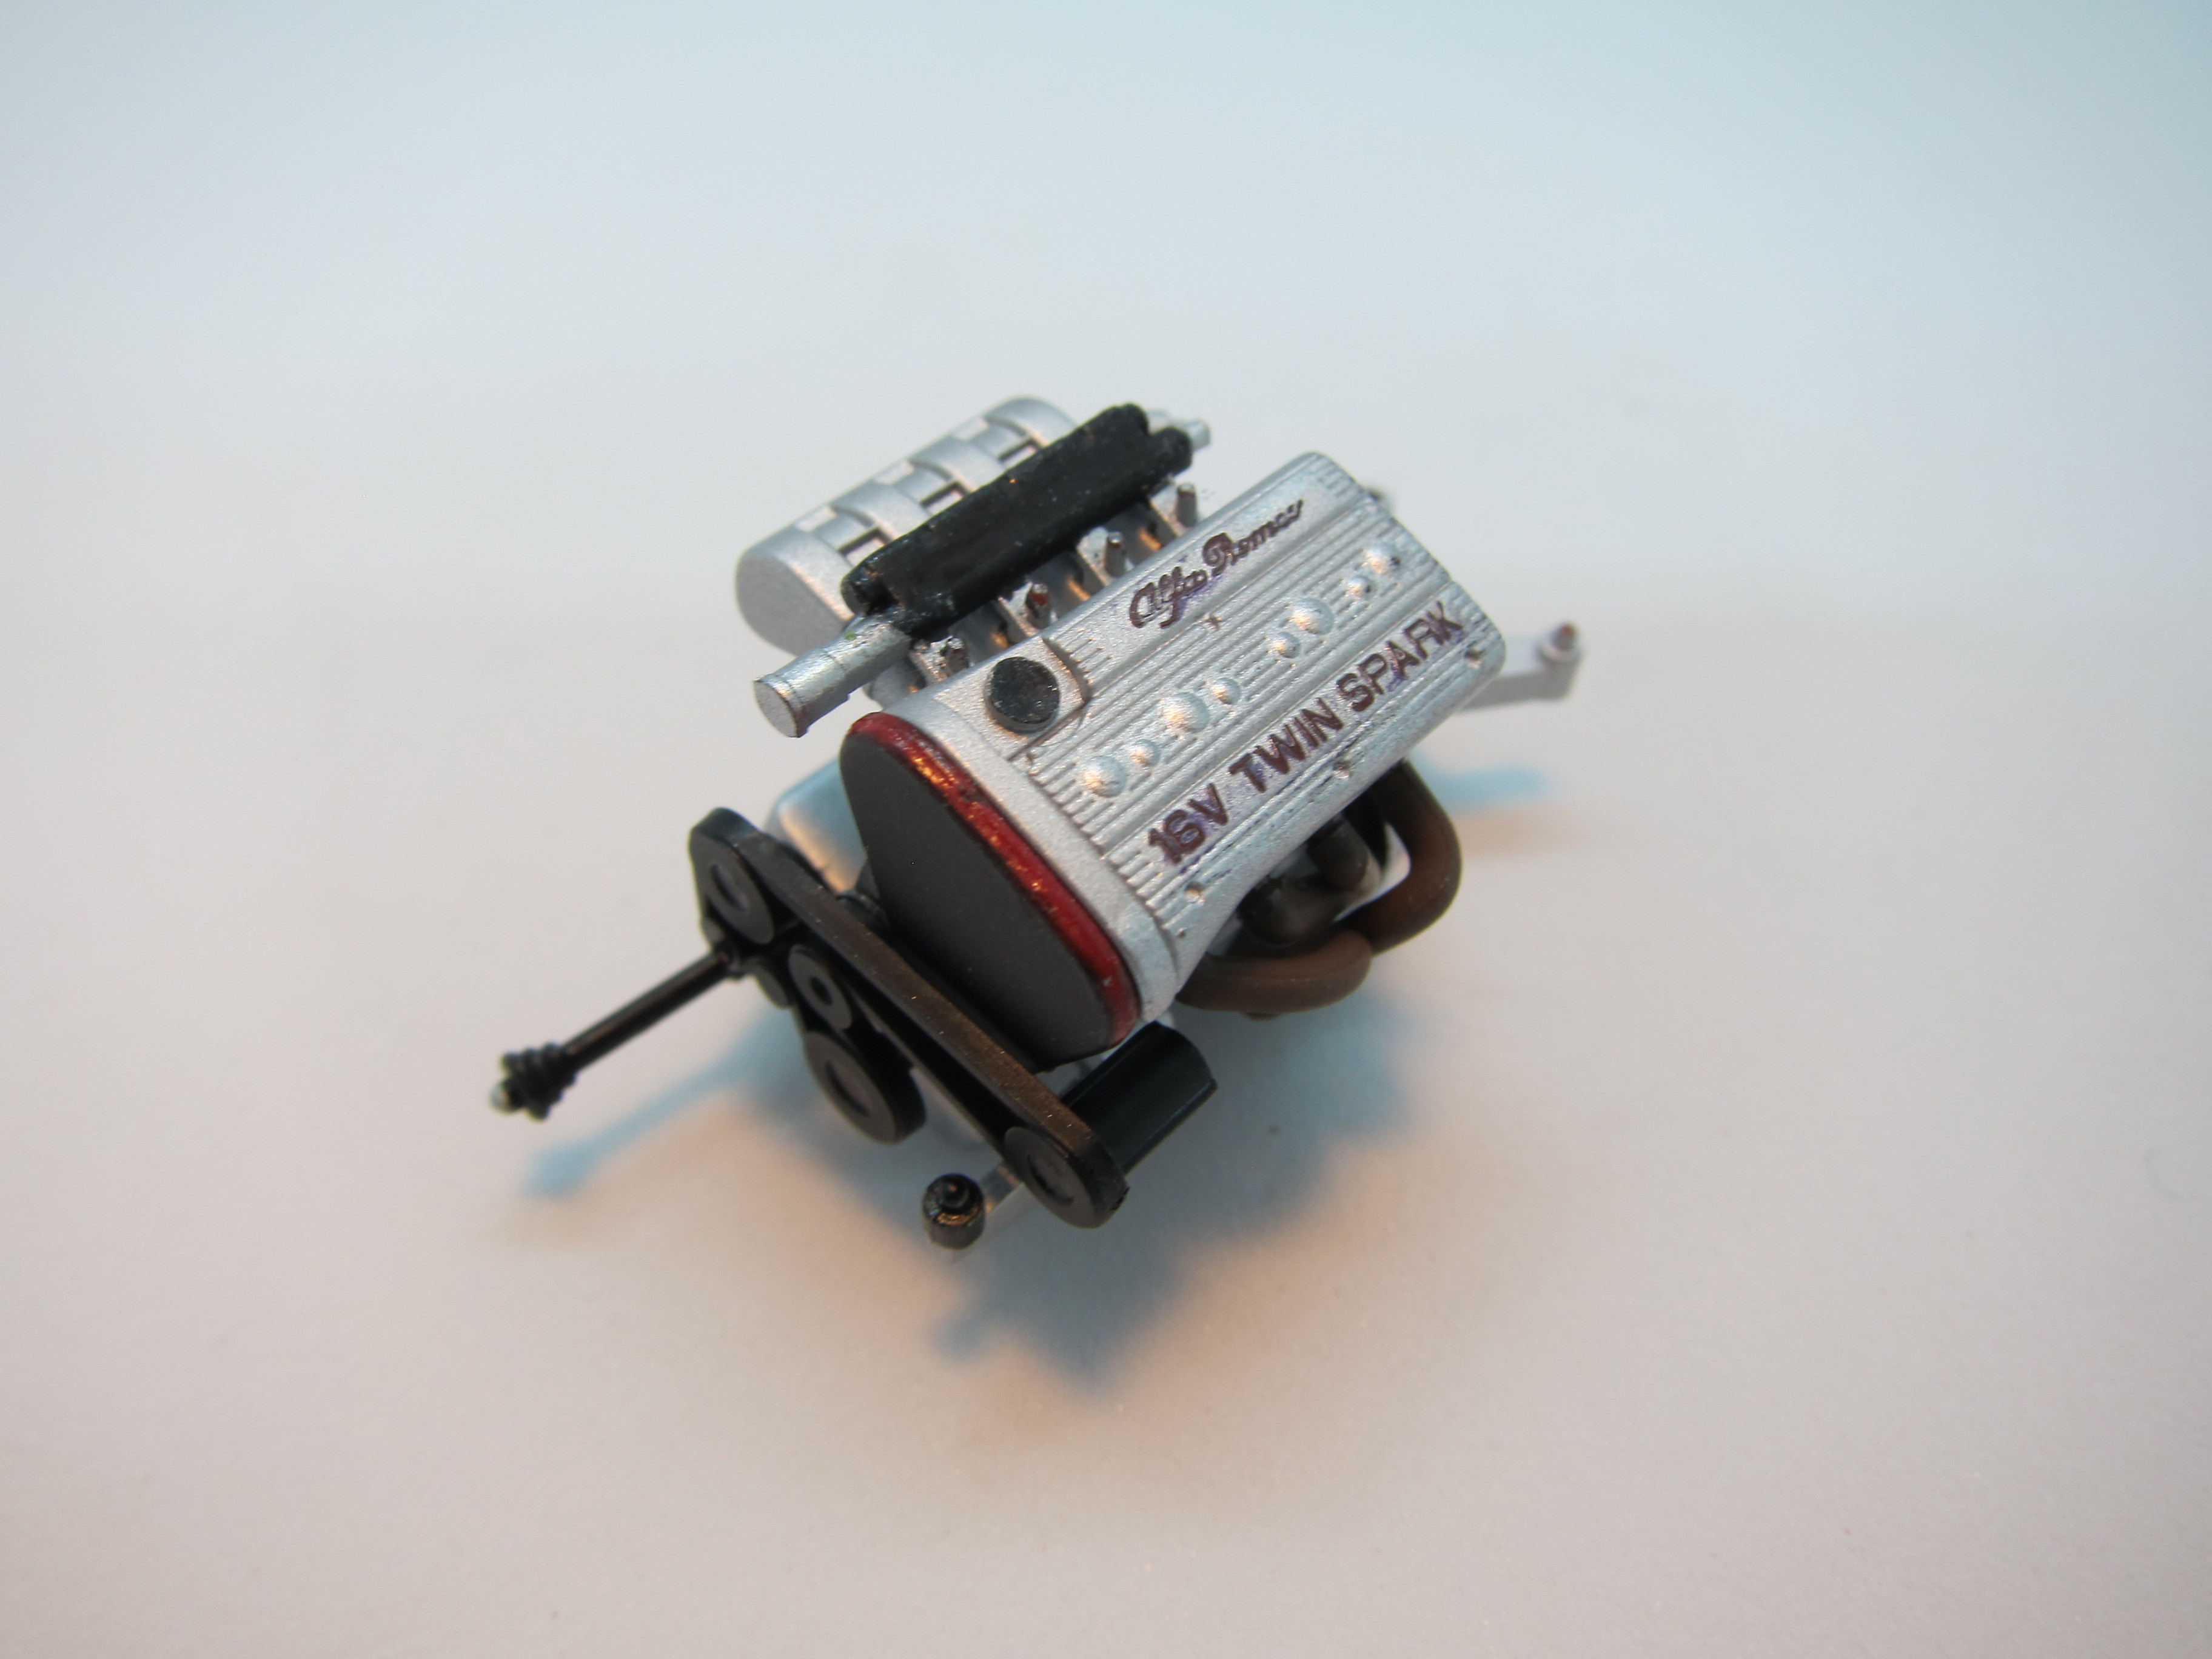
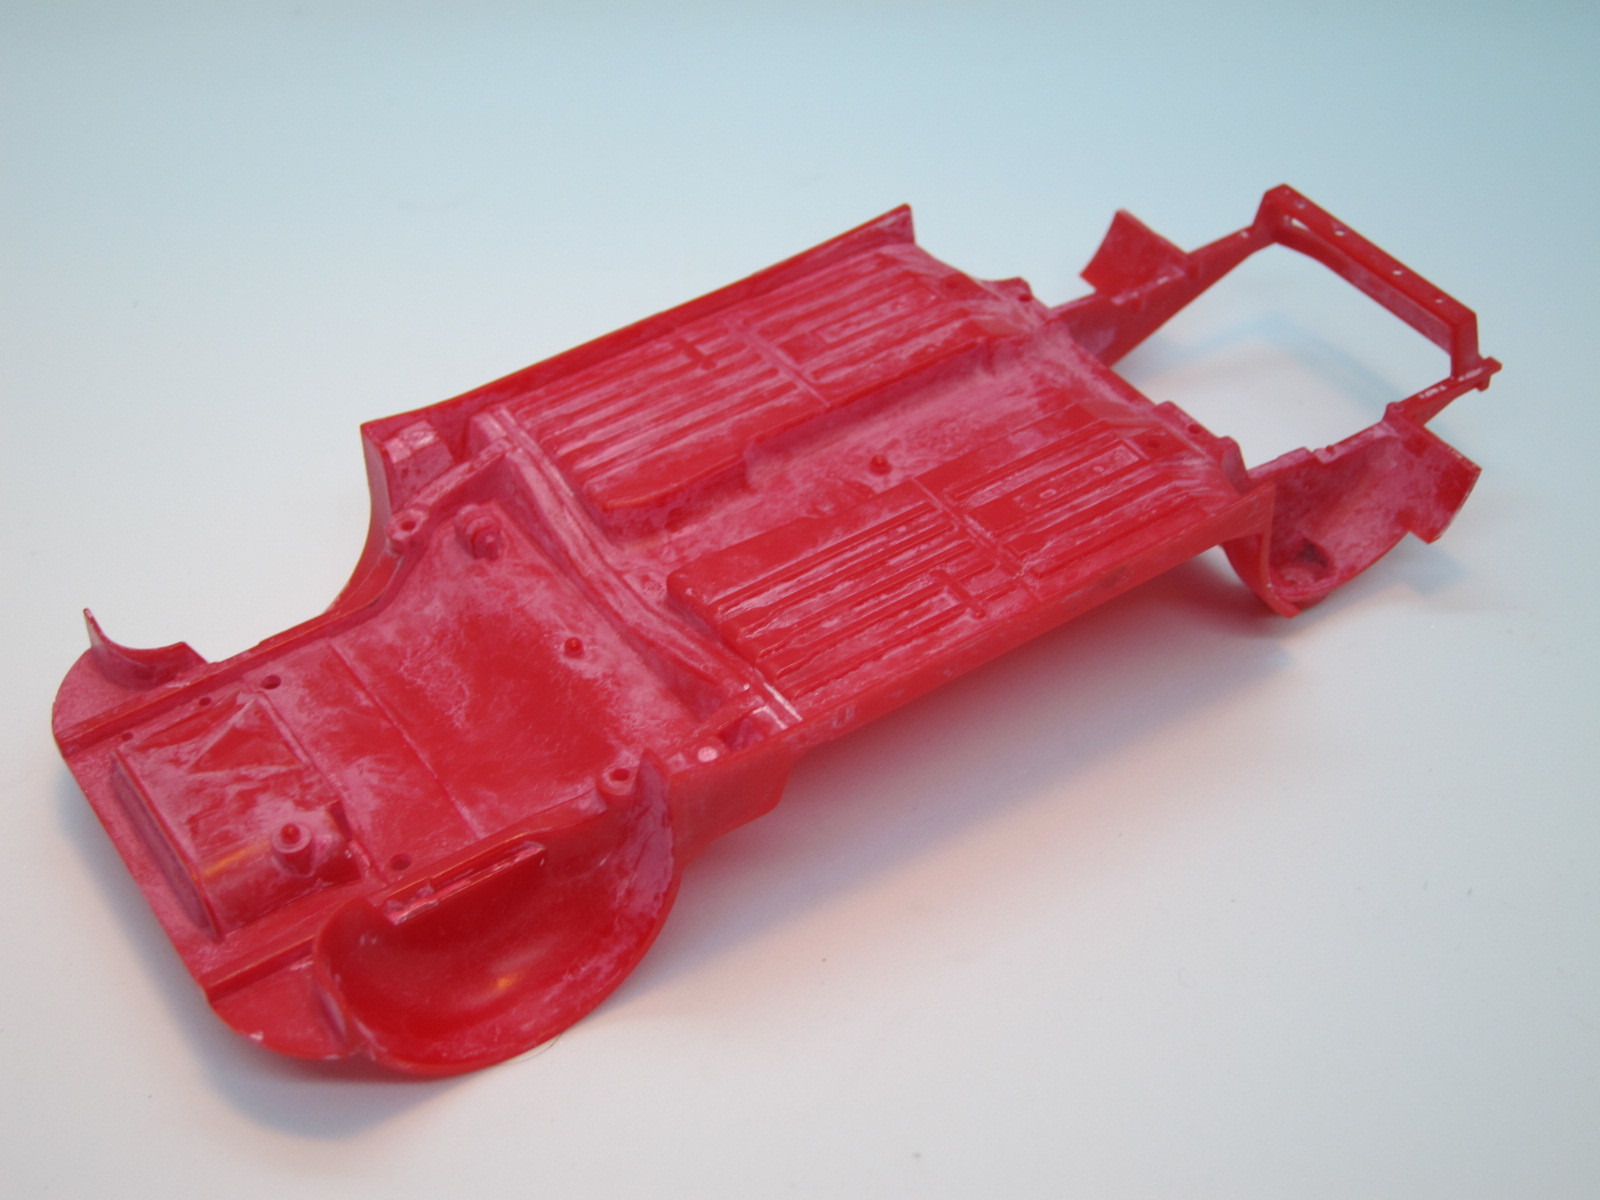
Some more progress made on the Alfa. I completed the engine ( needs a bit of touch up), and stripped the chassis because the color was thrown off by coating it with a clear acryl. To remove the paint and primer from all the grooves under the chassis and get it as clean as possible, I first soaked it in 91 percent isopropyl alcohol for about 6 hours, removing it from the bath occasionally to scrub with a tooth brush. For the residual paint and primer that was left on, I brushed on some Testors Easy Lift Off and scrubbed with a tooth brush after a few minutes. I was very careful with the Easy Lift Off stripper; because I know it can be very aggressive and damage the polystyrene. I wouldn't recommend it on older models where the plastic has become brittle.
|
|
|
|
Post by Firemist on Nov 25, 2019 3:09:58 GMT
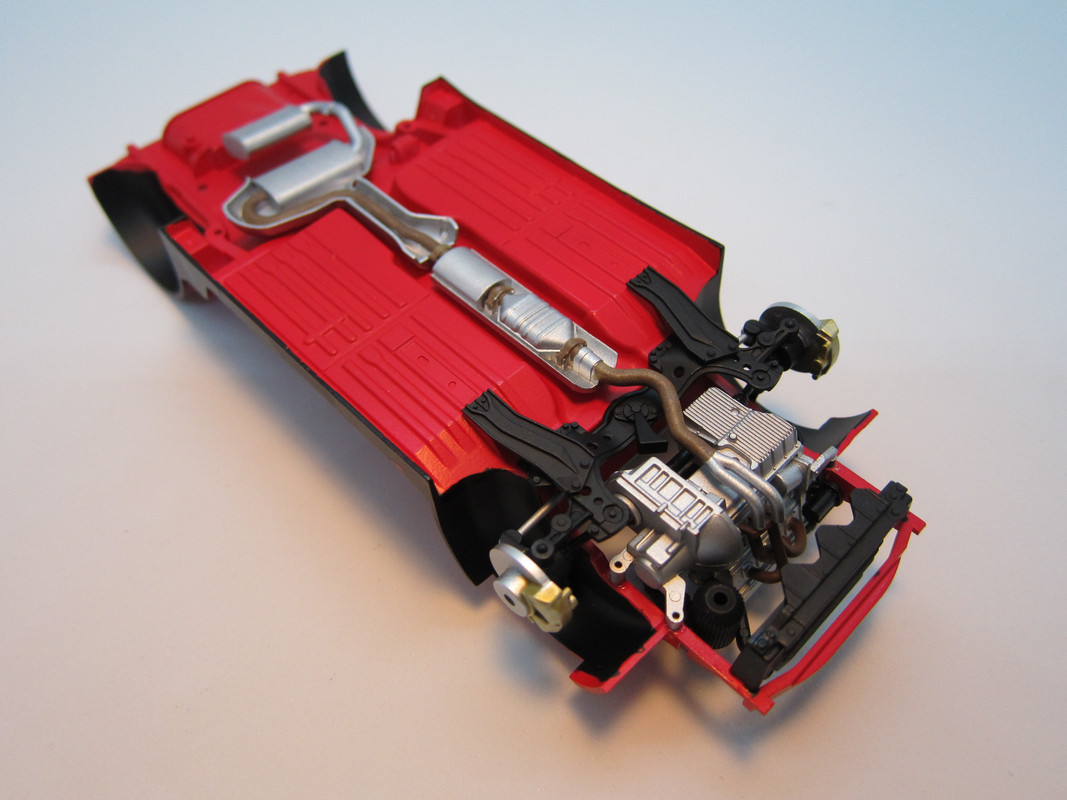
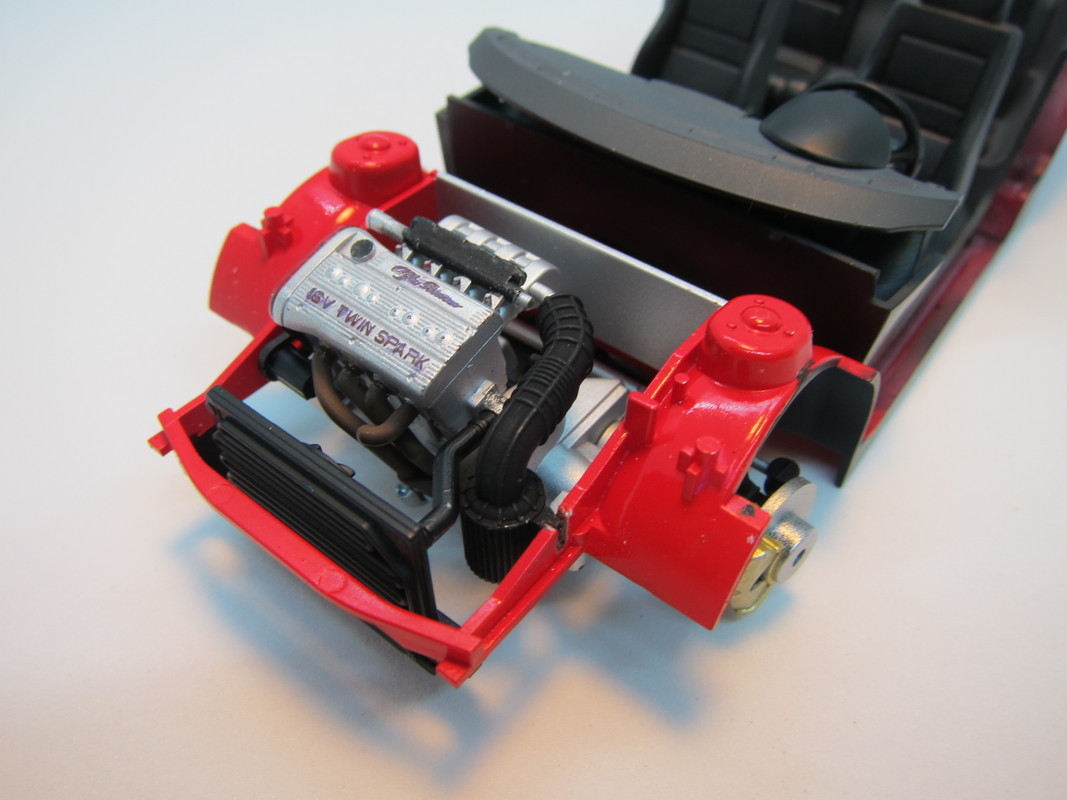
More progress on the Alfa Romeo. I have been following the kit's painting instructions fairly closely to see what kind of results I would get. Here are a couple of pictures of the engine bay and the chassis detail. So far the kit is living up to Tamiya's reputation for fit.
|
|
|
|
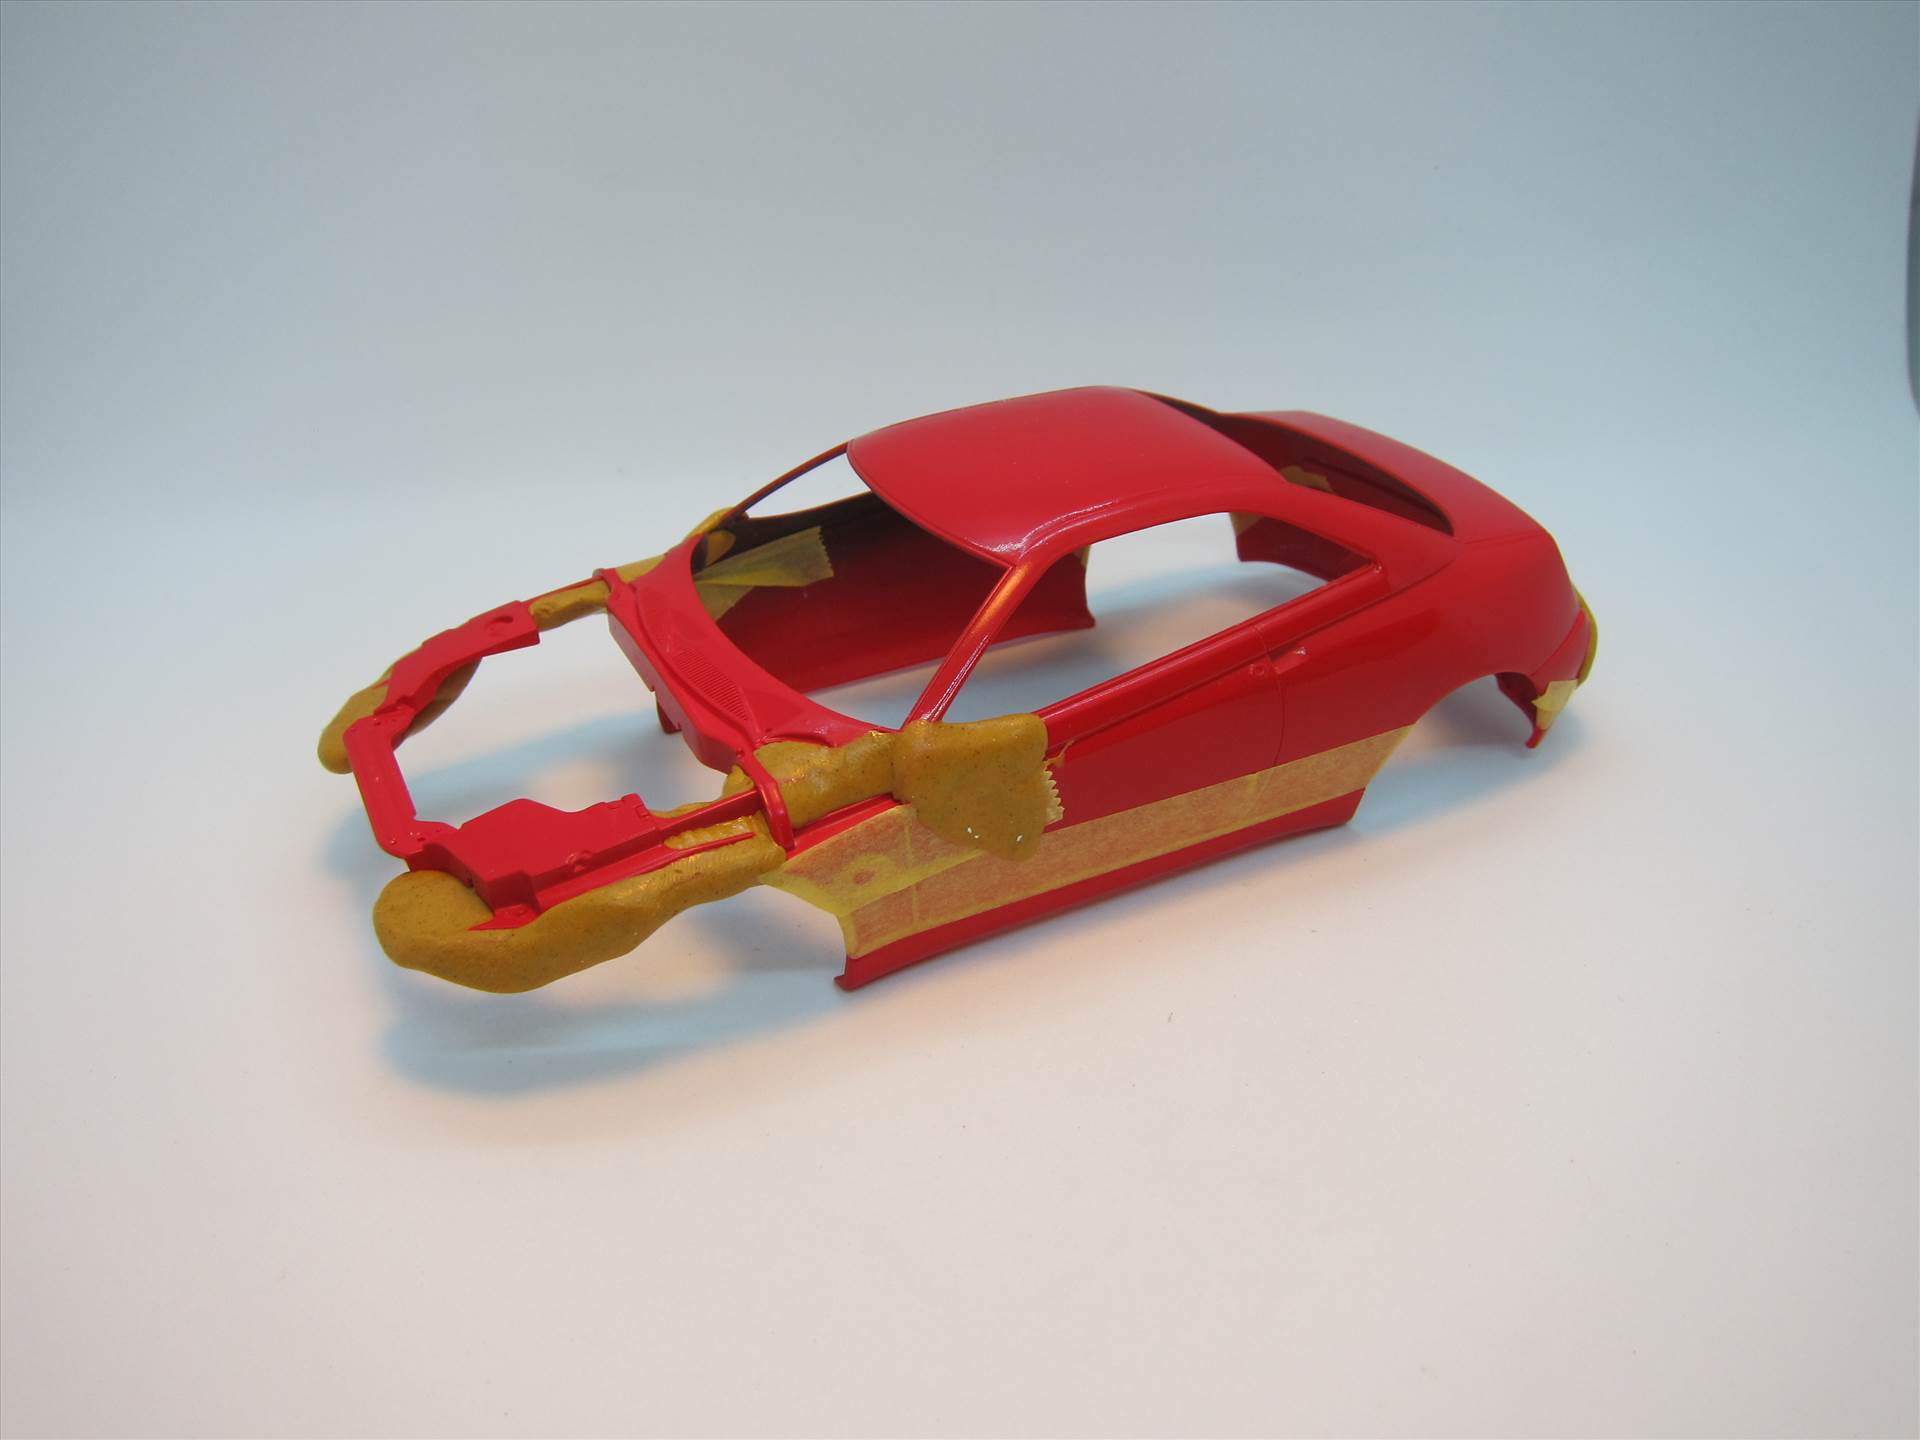
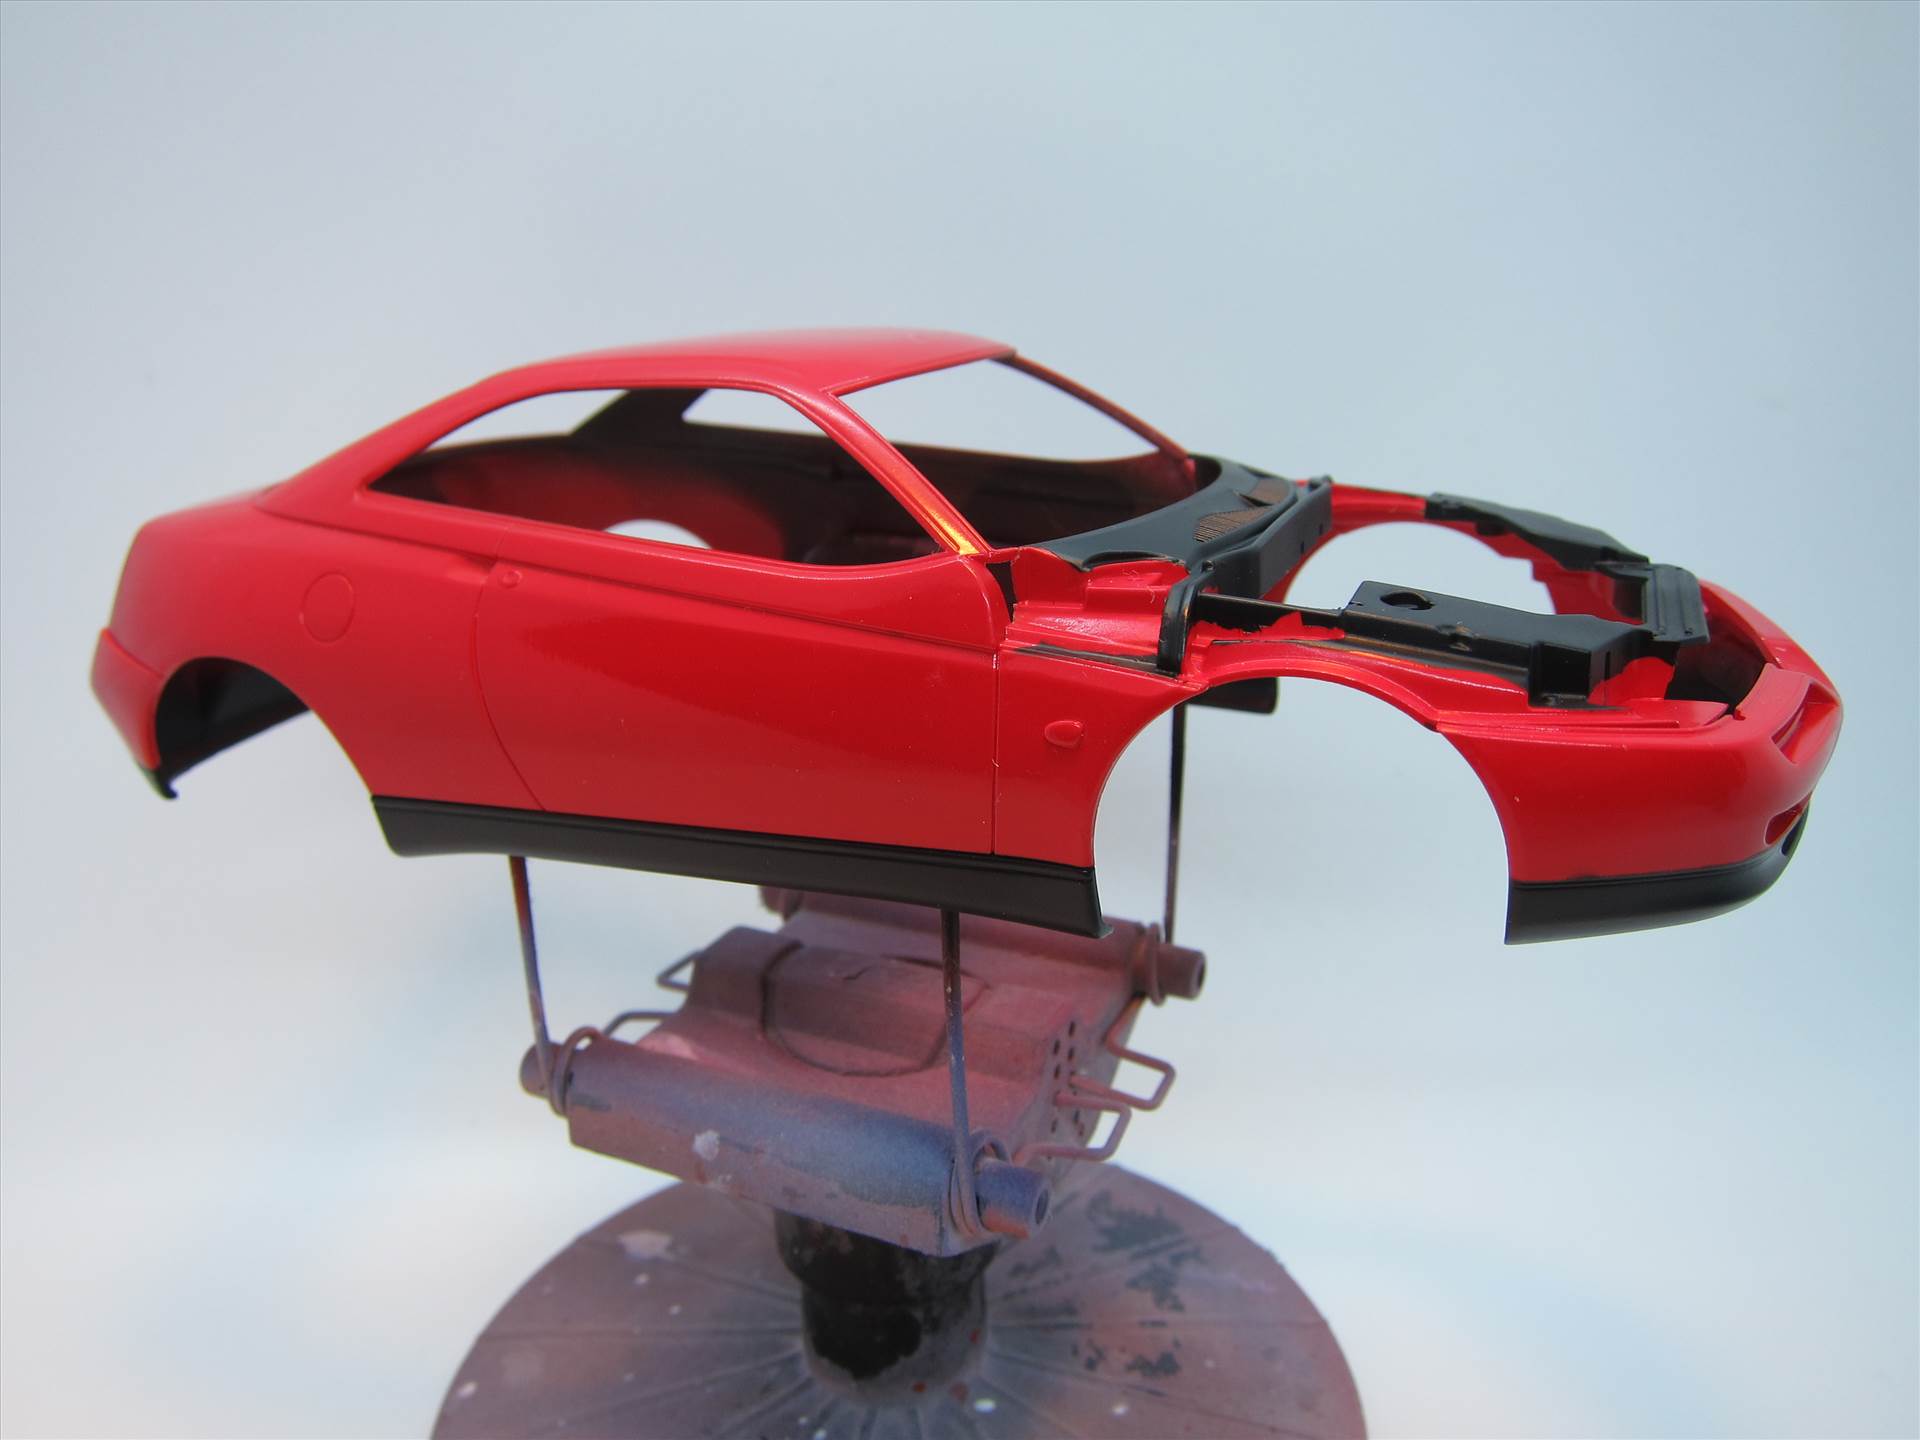
Post by Firemist on Dec 10, 2019 3:37:25 GMT
I managed to get a little more work done on this kit over the weekend. I masked portions of the front engine bay off with silly putty. Also, I used some Tamiya masking tape in order to paint the semi-gloss portion of trim at the bottom of the car. The rest of the area was masked off with copier paper. After I finished masking the car, I sprayed a thin coat of Testors Wet Look on the edges of the tape to prevent the semi-gloss black paint from bleeding. I used this technique on my Fiero build and worked very well. As with the Fiero, I plan to do the window trim in semi-gloss black with a refillable paint pen. Overall, the black trim came out to my liking but I still need to do a little touch-up here and there.

|
|
|
|
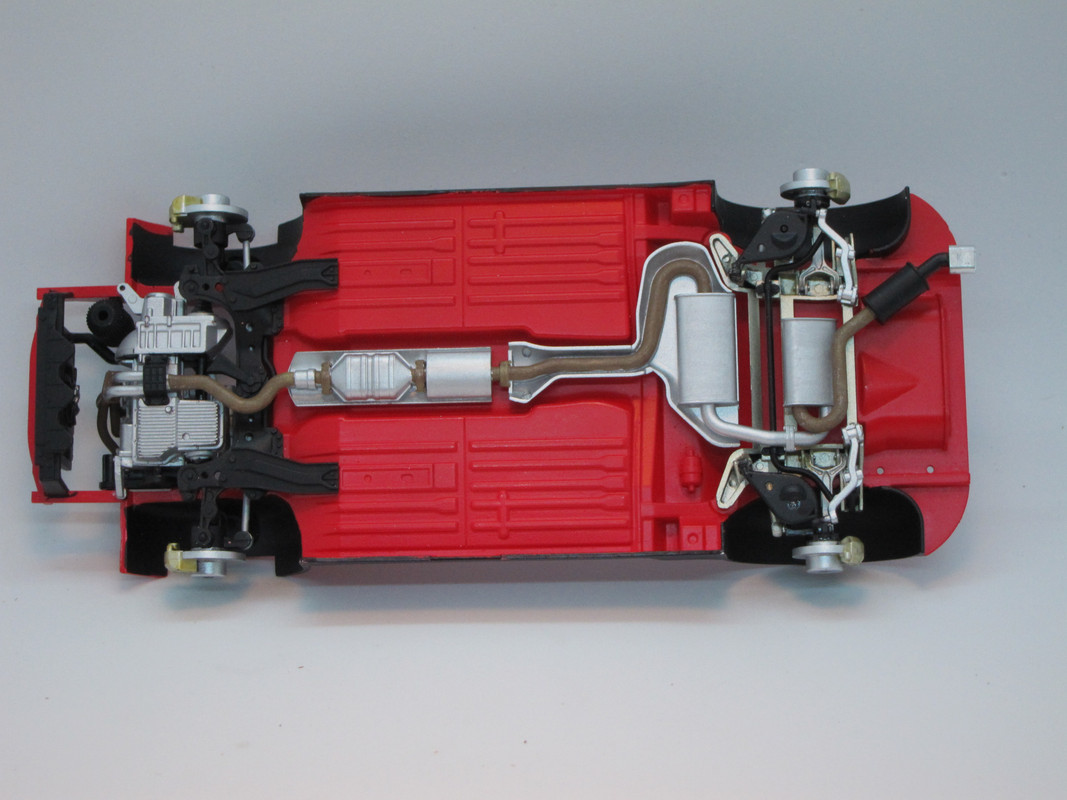
Post by Firemist on Jan 25, 2020 19:44:48 GMT
Some more progress on the Tamiya Alfa Romeo. Below is a picture of the chassis which is just about complete. I have been following the painting recommendations in the instructions fairly closely. So far, as I suspected the fit has been excellent, but painting all the details according to the instructions can be a bit time consuming.
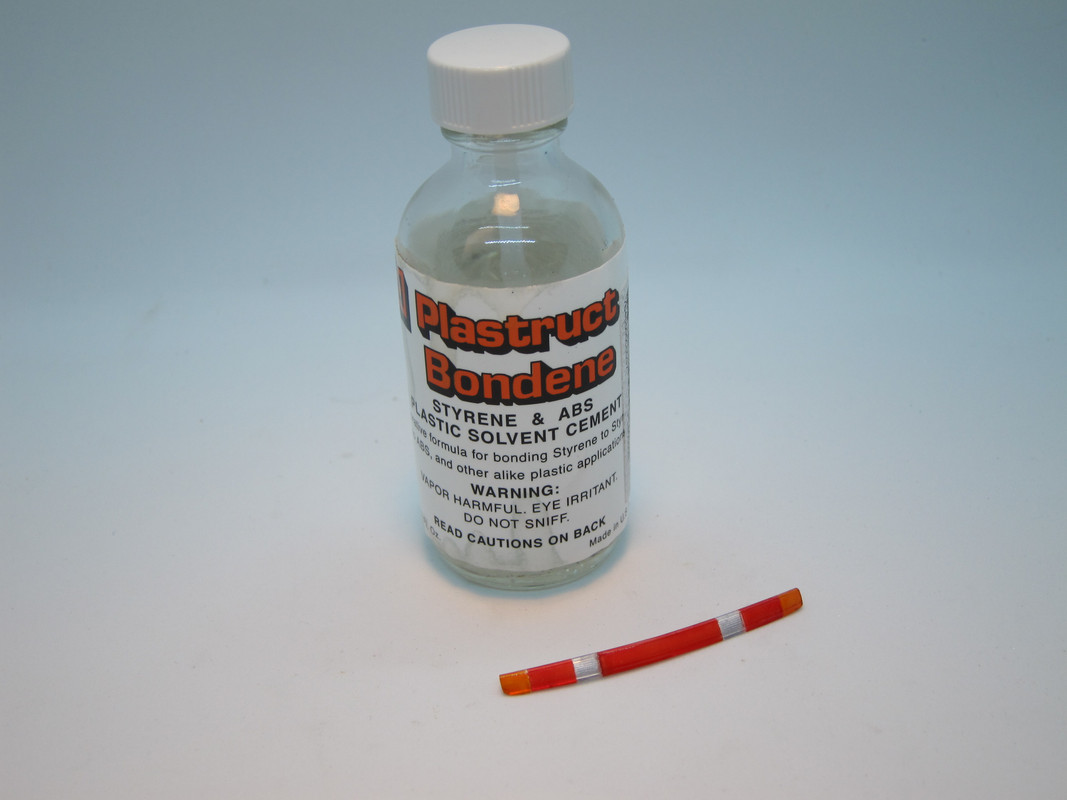
After painting the the tail light lens, I accidentally broke a piece off while removing the masking tape and had to glue it back together. I had some Plasticstruct Bondene (AKA Plasticweld?) handy and it did an excellent job of putting the two pieces together, and this was despite the fact the lens was only about 1/16th of inch in thickness at best. A couple notes about Plasticstruct. First of all, it runs like water due to its really low viscosity, so you have to be very careful when applying to avoid unsightly runs. Also, this adhesive is highly volatile so you might want to make sure the cap is on tight or it may evaporate right out of the closed bottle. Finally, the bond took about 30 to 45 minutes to cure, but when it finally did cure the parts had about the same strength as a single piece of plastic.
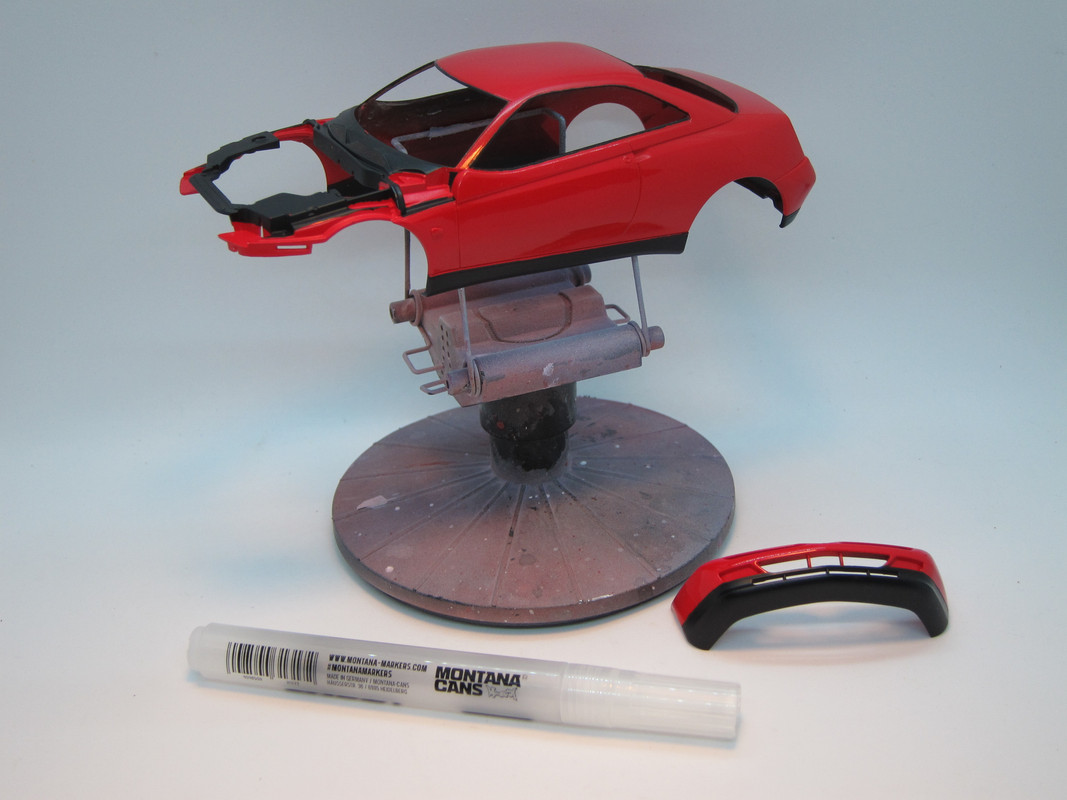
I also did some touch-up and added the trim around the windows on the main body. The fillable acrylic ink pen did an excellent job on the trim around the windows of the body. You have to be careful with these pens because they may leak a bit, but otherwise I feel they were the perfect tool for the job!
|
|

